Cookies

Cookies
A haven of snack-y happiness!

Tuesday, January 3, 2012

Holiday Post 5: Tiramisu

Please see Holiday Post 1 for more further details about this holiday series.

My aunt knew the instant I made the offer what she wanted: tiramisu. I looked up the recipe and figured, easy enough. (I don't drink coffee...)

Another little anecdote about the ingredients. When I got into the cab to come home with the ingredients and get started baking all these treasures, I texted my husband saying "if I don't have everything, I will cry" (he's so wonderful that he wrote back "if you cry, I will give you a present" but anyway...). I start making the tiramisu (while making other stuff of course) and realize that I not only do not have espresso, I don't have an espresso maker and I don't have a way back to the store. So I paid a cab to take my husband to the closest Starbucks, wait outside and take him back. The recipe calls for 1 and 1/2 cups of espresso. I filled a cup with that much water, showed it to my husband and sent him to Starbucks to acquire that much espresso. The clerk thought he was insane, filled his order, explained that they only sell espresso by the shot and that that much would normally be $18 but as a kind holiday gesture only charged him $12. So with the cab, that was a $33 cup of espresso. Moving on, I followed this recipe:

http://www.foodnetwork.com/recipes/giada-de-laurentiis/tiramisu-recipe/index.html

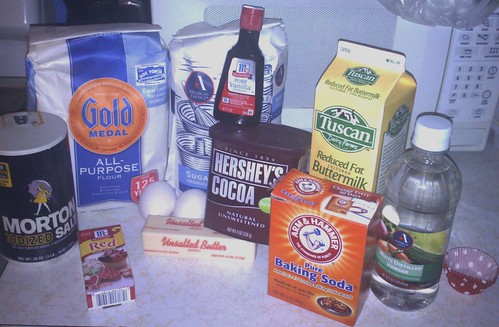
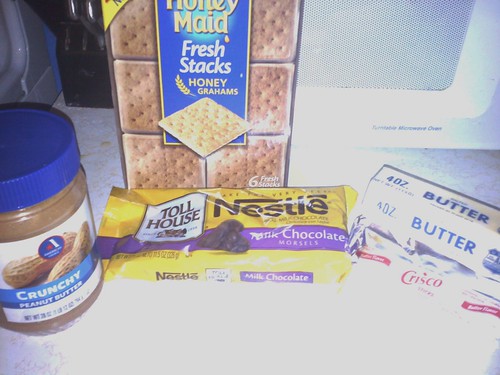
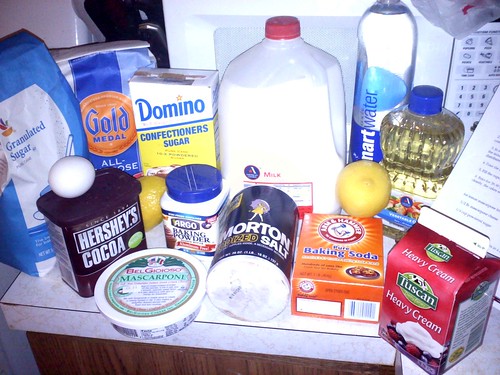
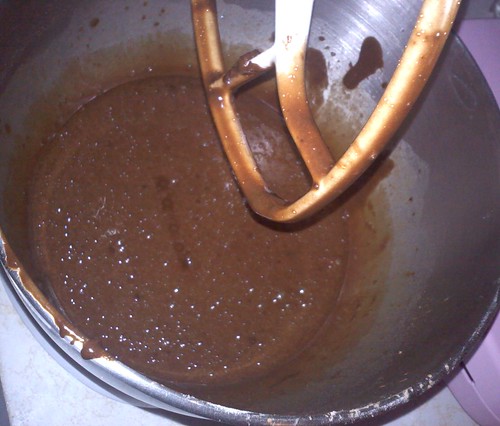
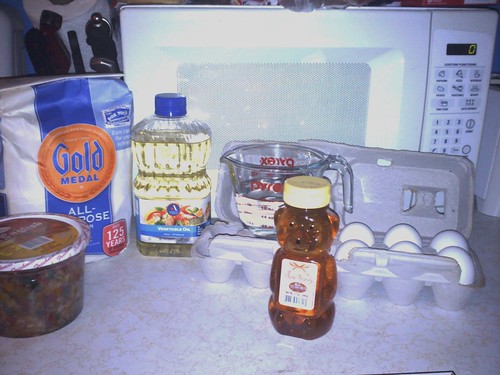
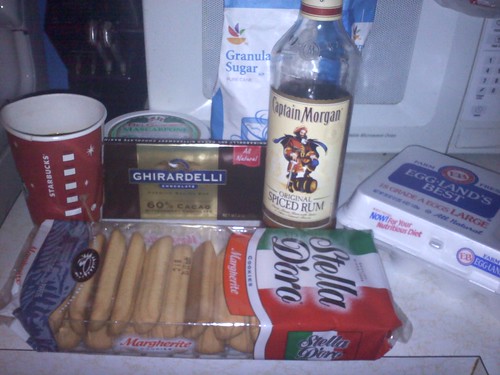
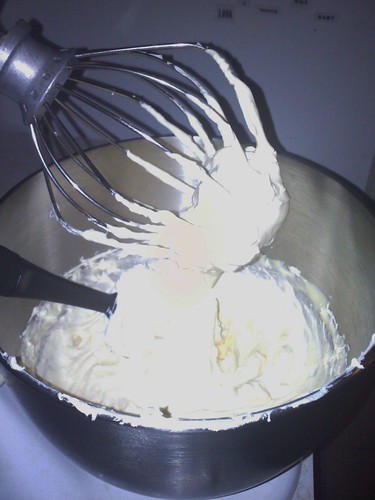
I began with these quality ingredients:
20111223225121

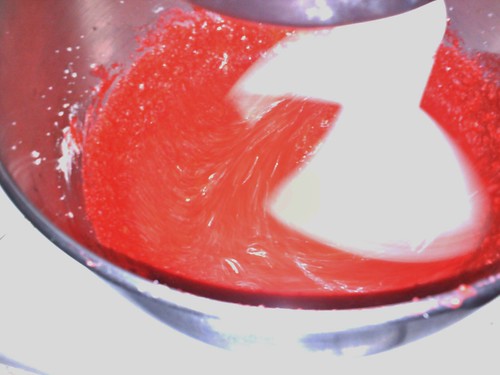
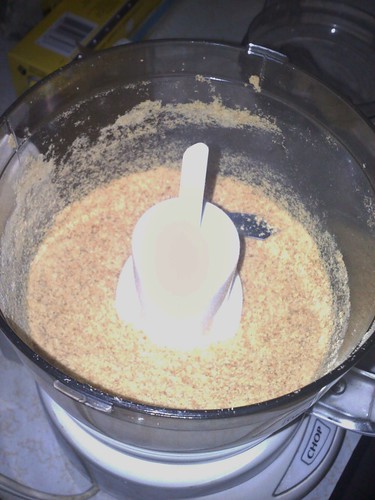
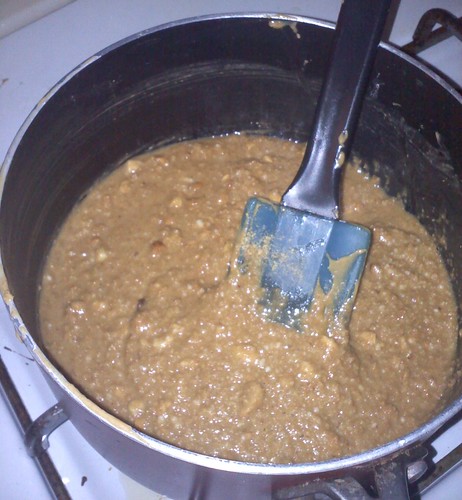
I beat the egg yolks, sugar, cheese and a bit of the espresso. I took photos before and after the espresso (which gave it a tiny brown tint) but with the overblown photos you can't really tell.
20111223230250

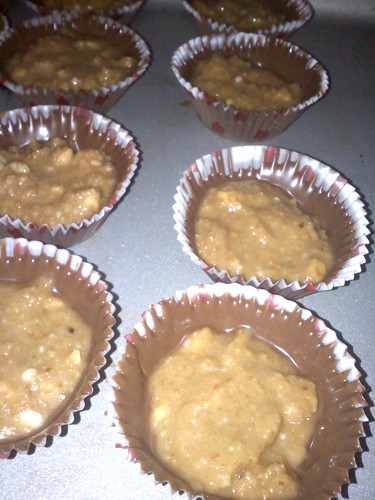
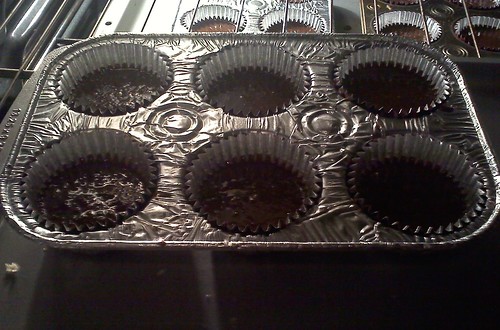
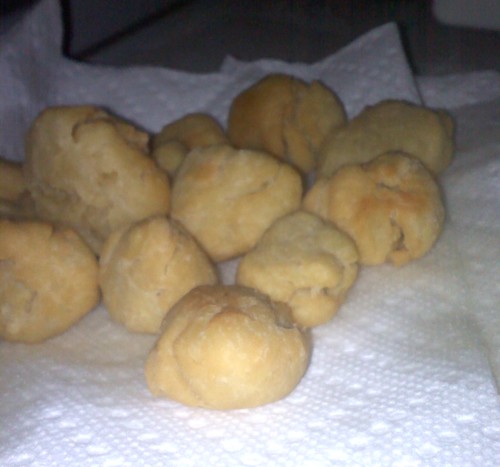
I then set up my ladyfinger soaking assembly:
20111223231213

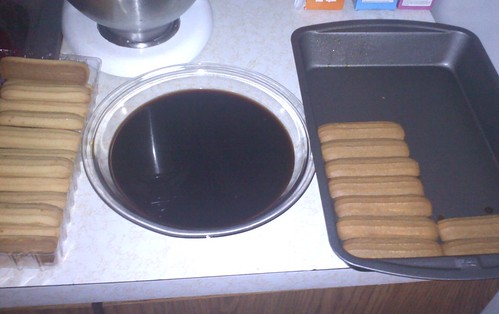
I dropped two of the cookies in the sink as I was setting up the assembly. Without those two, I had exactly enough cookies to cover the bottom layer of the pan.
20111223231914
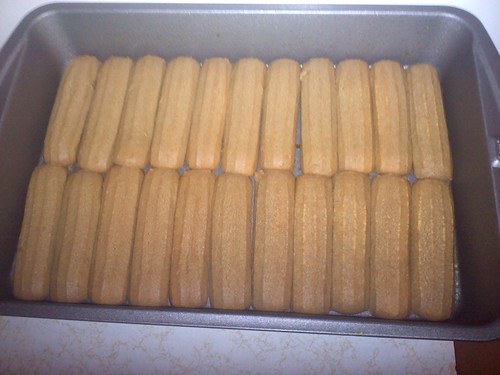
I like this picture because you can see the cookies literally burgeoning with the rum/espresso mixture.

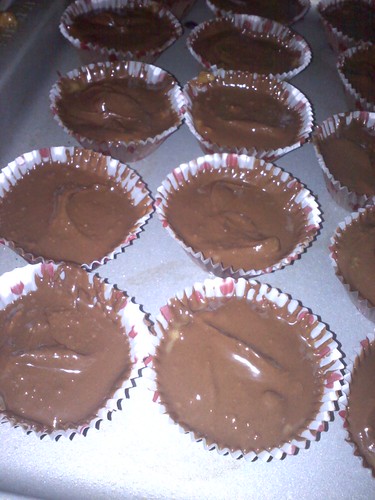
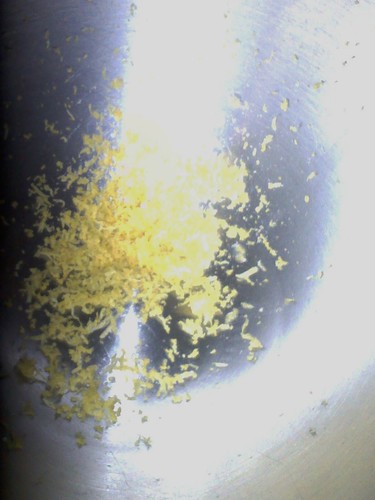
I then spread the cheese mixture atop the cookies:
20111223232426
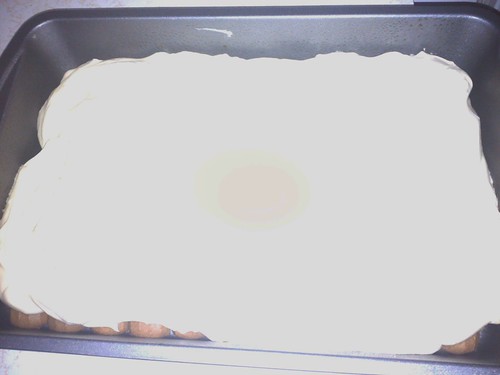
(another ridiculously awful photo!)

It was at this point that I realized the recipe called for another layer of cookies and I had no more. So I popped it in the fridge as is.

The next morning I cut it in half in the pan and piled one half on top of the other. It was much easier that I thought it was going to be.

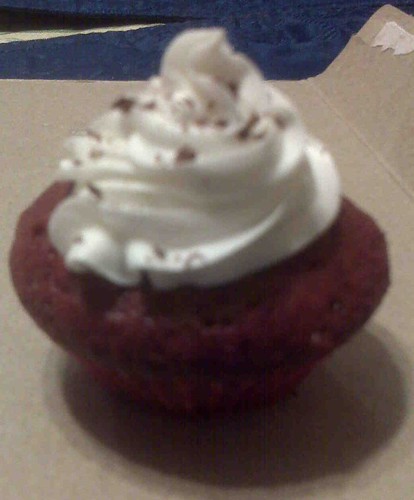
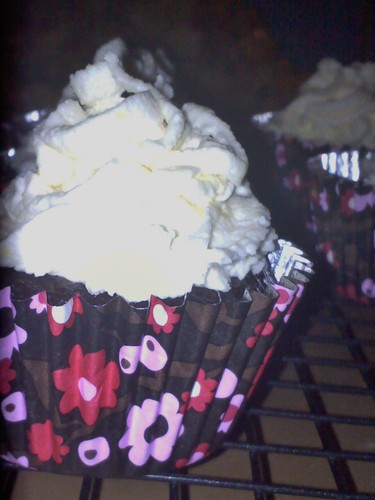
I then cut that section into four pieces, loaded them into Tupperware for transporting and sprinkled the tops with shaved bittersweet chocolate.
IMG00483
IMG00486

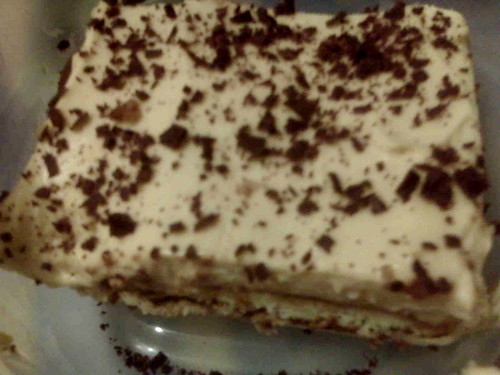
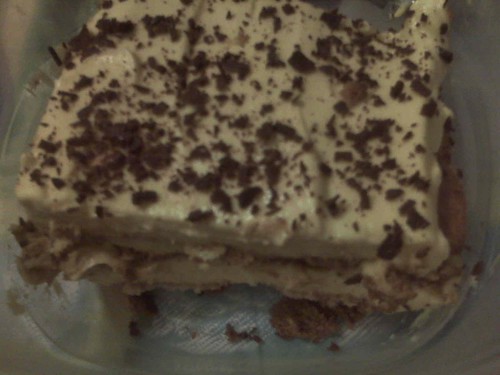
She loved it; she ate most of it that very night and refused to share with anyone. Now that IS a compliment.

And this concludes my 2011 holiday series. I hope you enjoyed it!

Holiday Post 4: Mini Red Velvet Cupcakes

Please see Holiday Post 1 for a further explanation of the idea behind this holiday series.

My other cousin immediately asked for red velvet anything. I suggested that blue velvet was the new red velvet, but he was adamant about red. So, since Santa had been so kind to drop off a mini cupcake maker just days earlier, I couldn't help myself but to employ it.

I used a recipe which I have used before for red velvet:
http://allrecipes.com/Recipe/red-velvet-cupcakes/Detail.aspx

I started with these quality ingredients:
20111224011832
Just a note here - yes, that ENTIRE bottle of red food coloring goes into this product. But it sure is pretty and tasty!!

Speaking of stock photos - I began by creaming the butter and sugar together. I don't have a photo of this from this project, but you can see quite a few other shots of me doing it in previous posts.

I added in the wet ingredients and managed a beautiful action shot:
20111224012925

Oh my is it red!
20111224012658

Once all the ingredients were added, I prepped the mini cupcake maker. Its' instruction manual claims that you should fill it while it's cold, but that subsequent batches could be added without re-cooling the machine. The first test product I (failed to) make in it proved this to be a fallacy. Today I plugged it in to heat up while filling the mini-cupcake liners, 8 at a time, to one side.
20111224015639

Once the machine was ready, I popped the prefilled cups in and waited about 8 minutes. The tops were beautifully formed and springy when they were done:
20111224020447

I put on some store bought frosting from a spray can and sprinkled shaved bittersweet chocolate on top to finish them off:
IMG00482
(wow is that a terrible photo or what!)
IMG00480

They looked so cute! And they smelled DELICIOUS!!

Holiday Post 3: Peanut Butter Cups

Please see Holiday Post 1 for greater details about the nature of these holiday posts.

One of my cousins was really intrigued by the idea but couldn't come up with anything that he wanted. Eventually he gave up and said, "just make me something good with chocolate and peanut butter in it." So I found a copycat recipe for at-home Reese's peanut butter cups. Since I made them and not Reese's, I like to call them Candide Coating Peanut Butter Cups :-)

I used this recipe:
http://allrecipes.com/Recipe/homemade-peanut-butter-cups/detail.aspx

I started with these quality ingredients:
20111223232853
I think this is the most overblown photo that I kept. Interesting side anecdote about these ingredients: I don't write down a quantity when I make my shopping list, just the ingredients that I need. So when I got to the peanut butter I had no idea how much I needed. Not wanting to go back to the store I not only purchased the largest jar they had but I also purchased an additional medium jar "just in case." In the end I only opened the medium jar and used very little of it.

To begin, I melted the shortening and some chocolate and brushed the insides of 30 mini-cupcake liners.
20111224000834

I popped them into the fridge for 2 hours while working on the filling and some of my other holiday posts.

For the filling I started by putting some graham crackers into the food processor:
20111224001822
(you'd think by now I'd be using a "stock" photo for this image lol)

On the stovetop I heated the peanut butter with the butter. When it reached the desired consistency, I added the confectioner's sugar and the graham cracker crumbs:
20111224002051

From someone who doesn't eat this, it really looked unpleasant to me.

I filled the cooled cups with the peanut butter mixture, leaving room for the top layer of chocolate:
20111224003521

Then I brushed the chocolate over the tops to seal inside the peanut butter-y goodness:
20111224004205

I kept them in the freezer until it was time to eat them. One girl at the party insisted there was no way that I had made them. I guess that's a compliment...

Holiday Post 2: Lemon Mascarpone Frosted Chocolate Cupcakes

Please see Holiday Post 1 for a brief explanation of the holiday product and an excuse for why the photographs do not meet the general caliber this blog has sought to produce.

My uncle was a pip, thinking up the hardest things he could, things I had never heard of and he had most likely never even tried. In the end he never picked anything and just asked me to surprise him. He loves lemon bars, loves chocolate and we are of Italian heritage, so I just melted when I saw this recipe incorporating mascarpone cheese and lemon:

http://www.dessertsforbreakfast.com/2010/03/chocolate-lemon-mascarpone-cupcakes-or.html

I started with these quality ingredients:
20111223174040
(gosh darn that's a powerful flash! lmao)

I combined the dry ingredients first in the mixer bowl and the wet ones in a separate bowl. After adding the wet to the dry while on stir speed, the batter seemed the consistency of normal batter. After adding the boiling water, the result was very loose, as seen below:
20111223180206

I prepped the cupcake tins with nonstick cooking spray and pretty cupcake liners. I filled the liners about 1/2-2/3 of the way with the batter and loaded them into the preheated 350 degree oven.
20111223181108

I started the icing with the zested lemon:
20111223214630

I added the rest of the ingredients and beat on a high speed. When I stopped, I did not feel that "soft peaks" had formed yet, so I beat it for another 45 seconds or so.

After the cupcakes had cooled totally I loaded the frosting into an icing bag with a star tip and piped it onto them. Check out the variance in this crazy flash on the next two photos; in the last one you can actually see that the frosting was, in fact, yellow!

20111223221035
IMG00488

He really loved them. They were a huge hit. I hope you enjoy them too!

Holiday Post 1: Strufoli

So this year, I told my five key family members to think of something exotic, hard or rare treat that they would like me to make from scratch for them as their holiday gift from me. It all went splendidly, I did all the shopping and baking the day before we celebrated, I packaged everything well and it all transported there wonderfully to rave reviews. The only problem was that my phone was stolen from my job the day before all of the baking. And I take all of my photos with my phone. So...I was able to take some photos, but they came out horribly overblown. I will be posting what I could salvage.

My grandmother requested Strufoli. I had never even heard what this was. She gave me a recipe that she had written down from a chef she likes, Mary Ann Esposito's priest. He actually measured everything in eggshells! Here is a photo of the recipe in my grandmother's handwriting:
IMG_20111208_145519

I started with these quality ingredients:
20111223191443

Since the recipe called for "1/2 shells" too, I presumed that 1 shell of water would be filling both sides of the shell. This is a very overblown photo of what the dough looked like:
20111223192753

It was sticky, but I rolled it out onto a well greased cutting board and pulled off pieces to fry.

They looked like this as they came out of the fryer:
20111223213238

And after tossing in some hot honey and adding some citron, the finished product looked like this:
20111223214119