Cookies

Cookies
A haven of snack-y happiness!

Tuesday, May 31, 2011

Mint Chocolate Chunk Cookies

Hey folks! Tonight I was trying to recreate this recipe:
http://www.bettycrocker.com/recipes/mint-chocolate-chip-cookies/22bebeda-ea36-441a-9909-ae78409d6da6

with a slight variation, I try real hard not to use stuff from a mix, so I brought in my own sugar cookie recipe (from Kitchenaid, of course!).

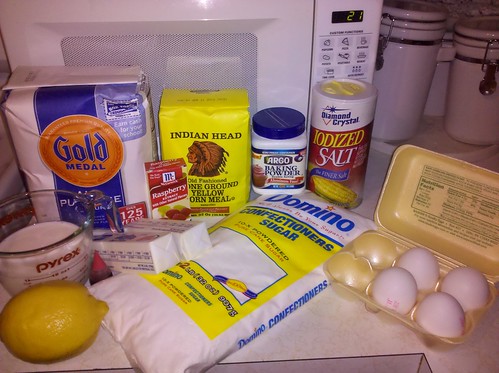
I'm getting a little tired with the same old ingedient photos, so I skipped it this time, but rest assured all quality ingredients were used in this process.

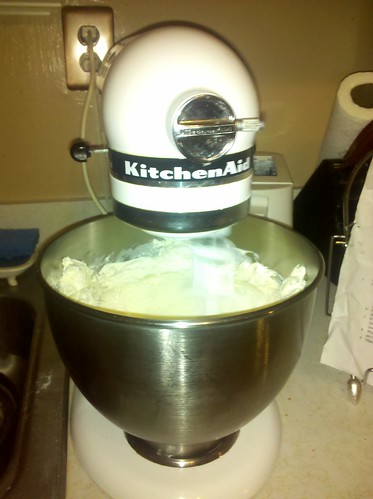
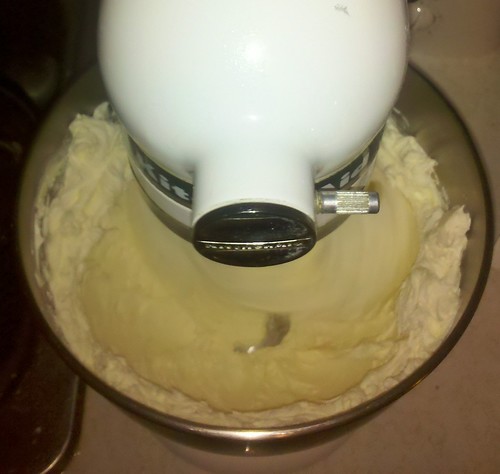
Also, the first step was to cream butter with sugar, and I took a beautiful photo of that for tomorrow's post about the red velvet cupcakes but I didn't want to feel repetitive, so I forwent it for this entry.

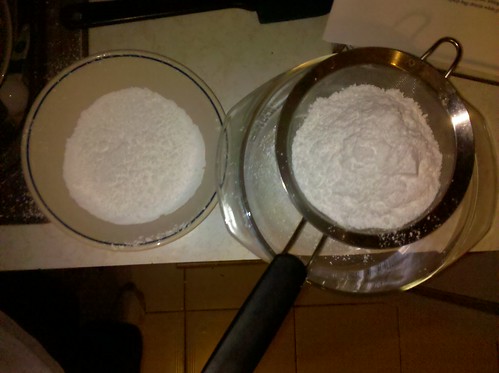
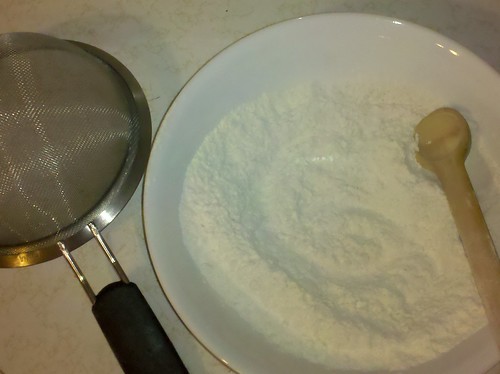
So, lets start with a lovely shot of some sifted together ingredients:
sifted dry ingredients

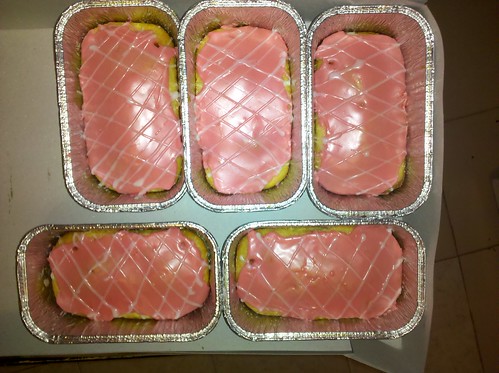
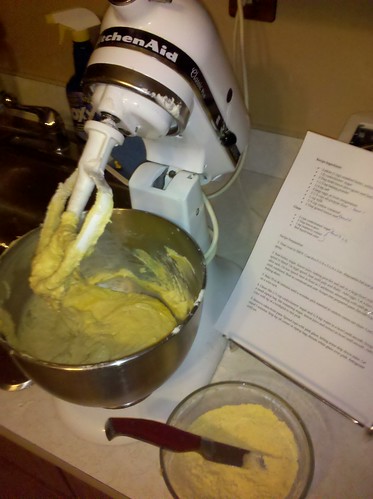
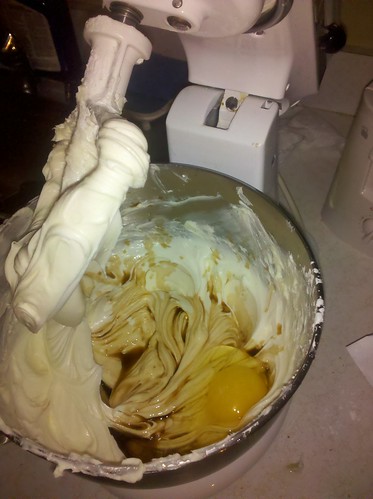
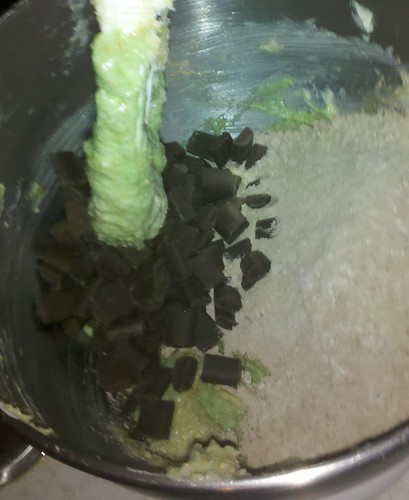
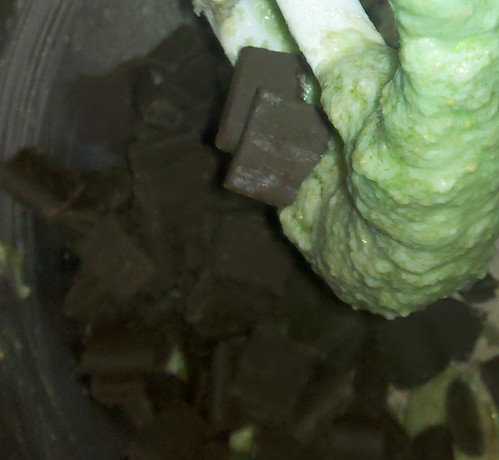
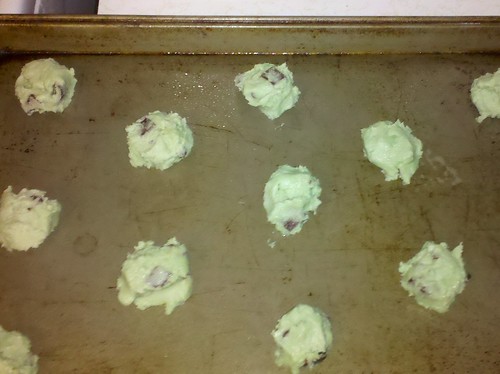
From there, I added the dry stuff and the chocolate chunks to my green batter, which just looked so lovely!
almost ready
tasty chocolate chunks n mint batter

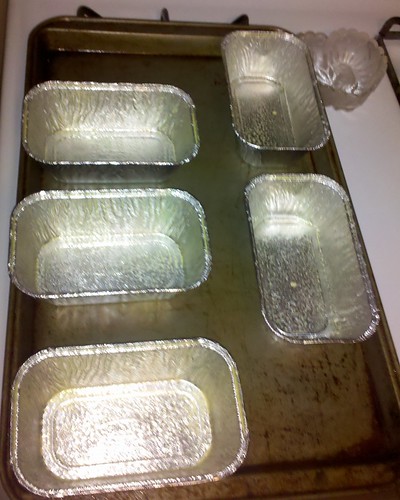
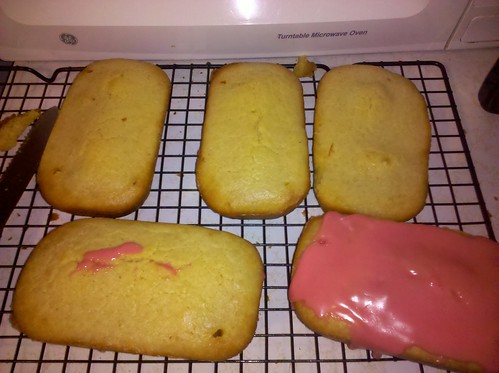
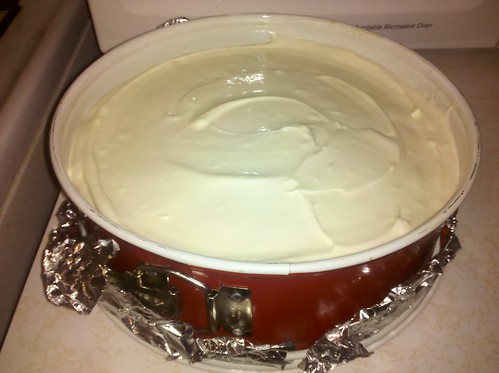
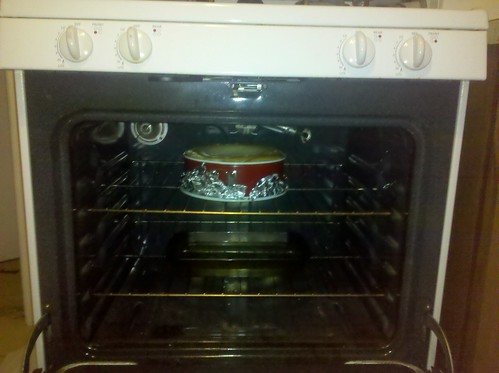
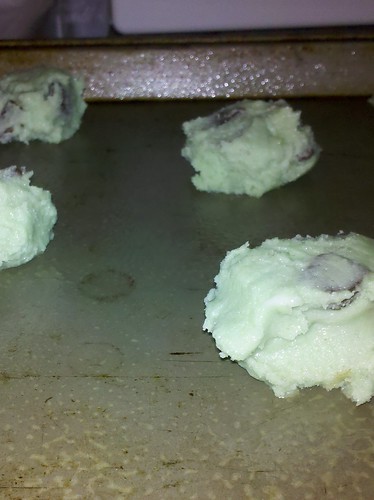
Within seconds the tasty treats were ready to go into the oven:
mint chocolate chunk cookies
going in the oven

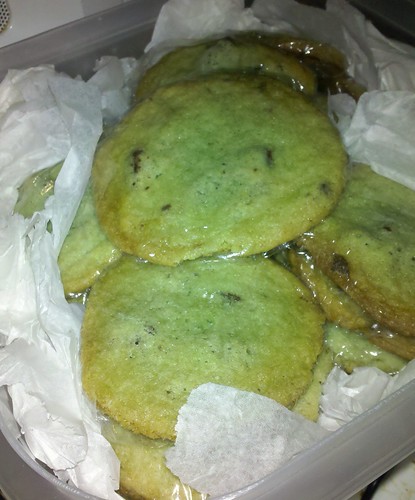
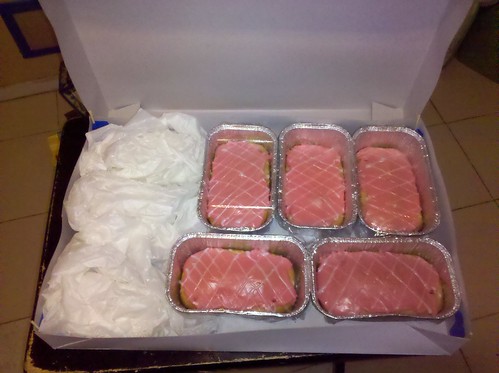
When they came out, they were so light and delicate - I wrapped them individually in cling wrap before placing them in a tupperware container with some tissue paper for padding. The finished product was something I really felt proud of:
all set for shipping

Raspberry Lemon Cornmeal Mini-Loaves

Well, a big order came in on Etsy, and despite not having recieved payment for it yet, I'm about halfway done baking it.

The first item I tackled was this lovely recipe from Woman's Day:
http://www.womansday.com/Recipes/Raspberry-Glazed-Mini-Lemon-Cornmeal-Loaves

So, I took these ingredients:
ingredients

and these cute little pans:
tiny loaf pans

and turned them into this:
finished product!

TADA!!!


I followed the directions exactly, zesting and juicing the lemon was certainly the hardest part.
lemon zest and juice

The batter looked really loose as I went through the egg additions, but by the time I was about to add the zest/cornmeal mix, it was looking mighty tasty:
pre cornmeal

While they were in the oven, I prepared the two glazes, starting with sifting the flour:
for the glazes

I found them to be very thick, so I added about 1/2 tsp. extra water to each to reach a spread/squeeze-able consistancy.

They looked so great coming out of the oven I forgot to snap photos until I was already icing them - look how yummy!
out of the oven!

In no time at all they were ready to be packed to be shipped (a daunting thought in itself).
Here's a few shots of my packaging:
all set for shipping!
outside of box

Hope you've enjoyed the show!!

Sunday, May 29, 2011

Rainbow Bread

In case you're detecting a theme, allow me to warn you - I am going to be re-attempting the rainbow cake later this week as my graduation cake.

Today's adventure was to replicate this lovely adventure:
using half of the Basic White Bread recipe found in my Kitchen-Aid recipe book. That recipe can be found online here: http://www.epicurious.com/recipes/member/views/BASIC-WHITE-BREAD-FOR-KITCHENAID-50014678.

I forgot to take step by step photos, which is more than a little disappointing, but here's a shot of what my loaf looked like before I popped it into the oven:
pre oven

Post oven, I was in sheer wonderment at why I had not done this before. It was so pretty! See:
finished loaf
The later colors were a tad overpowering on the first few slices
slice 1

slice 2


but by the time I got to the middle I had a few with the whole spectrum visible.
best slices

rainbow bread!

All in all, I was very pleased with myself, and I hope you are too. Also, this item is for sale on my etsy, here http://www.etsy.com/listing/74840291/rainbow-bread for a mere $10 you could have your very own handbaked loaf.

Wednesday, May 25, 2011

Cherry Cheesecake

Can't find a link to a digital copy of the recipe I used. So...here goes:
ingredients
I love the magic of baking, and how I can turn just those few things pictured above into this:
cheesecake

Ingredients:
1 1/2 cup finely crushed graham cracker crumbs
1 tbsp sugar
1/4 cup butter, melted
4- 8oz packages of cream cheese
1/4 cup cornstarch
1 2/3 cup sugar
1 tbsp vanilla
2 large eggs
3/4 cup heavy cream
1 can cherry pie filling
9" springform pan

Step 1: Preheat oven to 400 degrees. Disassemble spring form pan, line bottom with aluminum foil, reassemble pan. Spray pan with non-stick cooking oil.

Step 2: Use a food processor to get crumbs.
crackers
Combine cracker crumbs, 1 tbsp sugar and melted butter. Pat by hand into springform pan bottom.
crust

Step 3: Beat cream cheese in stand mixer on medium speed for 2-3 minutes or until smooth.
cream cheese

Step 4: Add sugar and cornstarch, scrape down sides and beat again until smooth.
blending

Step 5: Place a pan of hot water into the oven.
over water

Step 6: Add vanilla and eggs one at a time.
vanilla

Step 7: Pour into prepared pan and place into preheated oven.
going into oven

Step 8: Cook for 55-65 minutes.
(By minute 55, I thought mine was going to spill over inside the oven)
spilling over

Step 9: Cool on a wire rack slightly. Then cool completely in the fridge.
finished!

Step 10: Once completely cool, pour can of cherry pie filling over pie.
cheesecake
cheesecake slice

Tuesday, May 24, 2011

Strawberry Cake

Today was both a friend's last day of college, it was also his birthday.

A few days ago he posted this link (http://www.wetakethecake.com/layer-cakes/9-strawberry-layer-cake.html) to facebook, and I was disappointed to find that A) it was not a recipe and B) he was not getting said cake.

After a quick google, I came up with this recipe:
http://www.jasonandshawnda.com/foodiebride/archives/1088

I had every ingredient on the list except the strawberries. So...
cake2
cake
slice

Again, I went with a simple buttercream frosting, from my kitchenaid recipe book and I mixed a little of the strawberry puree into some and used a ziplock bag to do the lettering. Strawberry puree layer between the two cakes, and oh my goodness did the top layer (which I baked in my springform pan) come out beautifully!