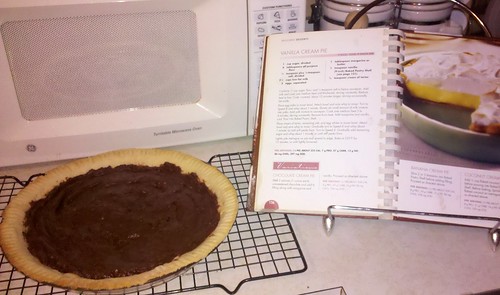
The recipe comes, of course, from my beloved KitchenAid book. Here is a digital copy:
http://www.food.com/recipe/garlic-pull-apart-bread-221695
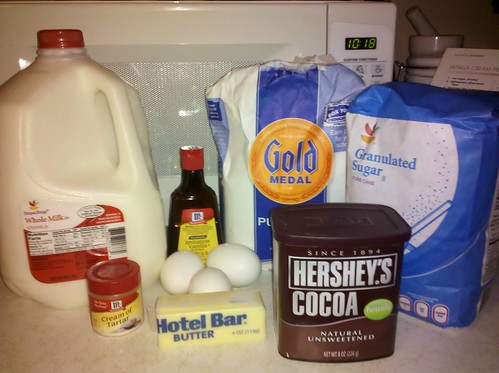
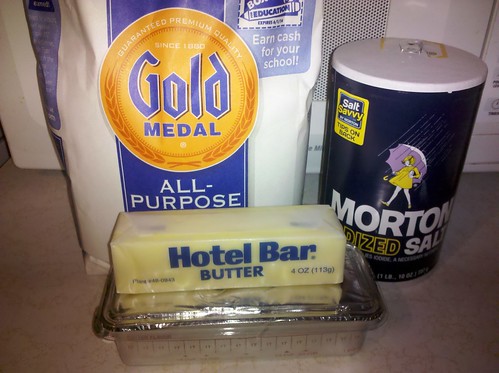
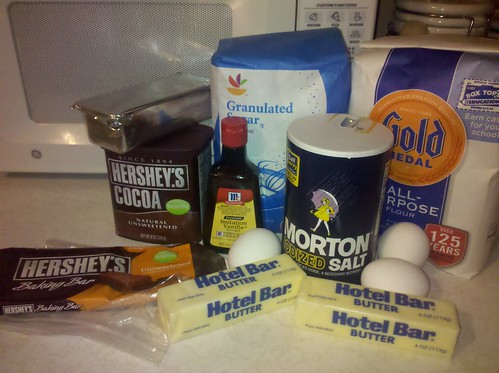
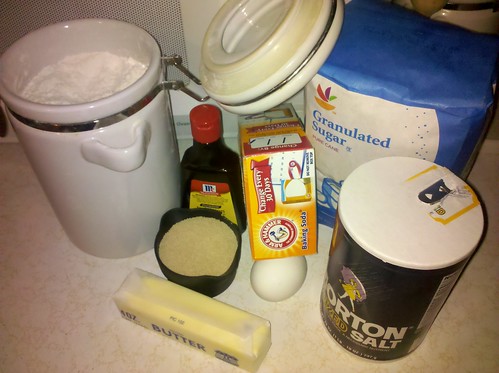
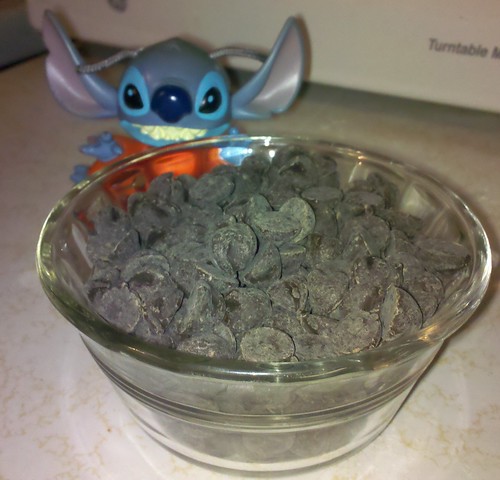
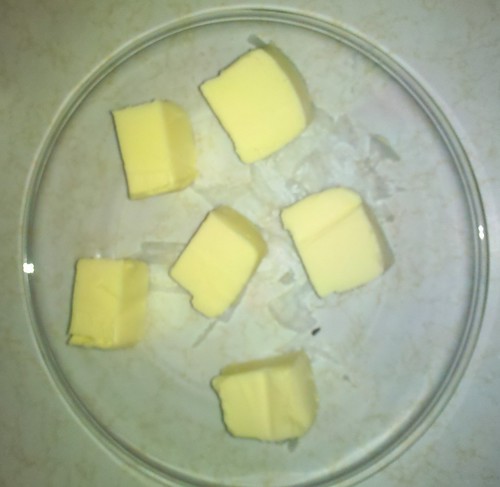
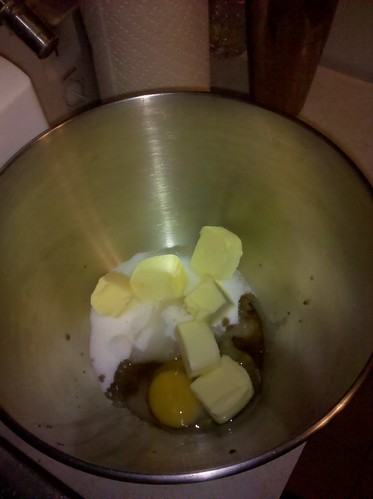
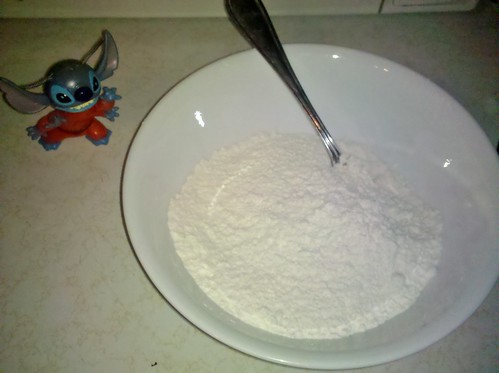
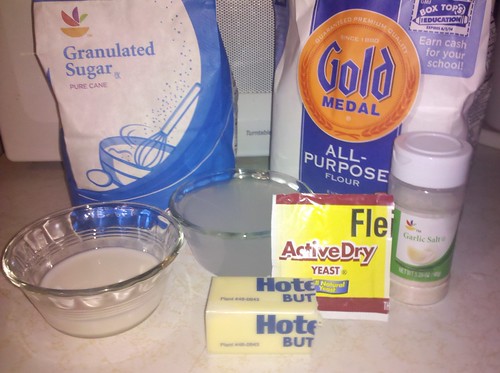
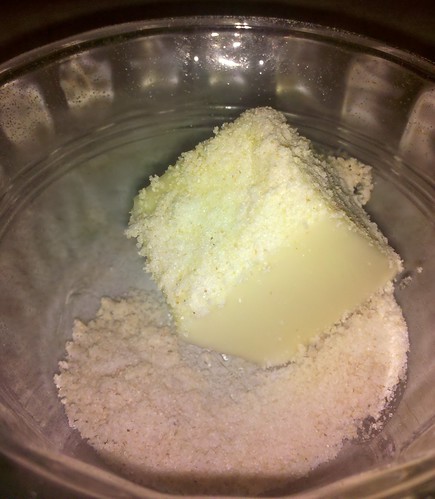
I started with these quality ingredients:
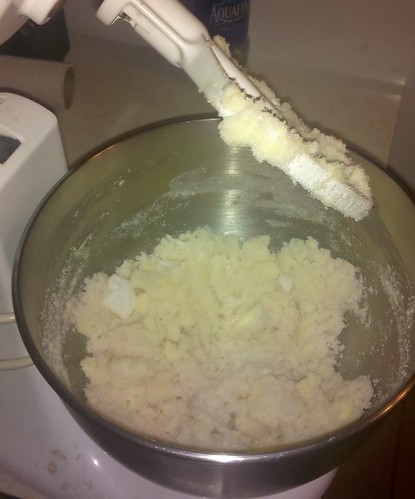
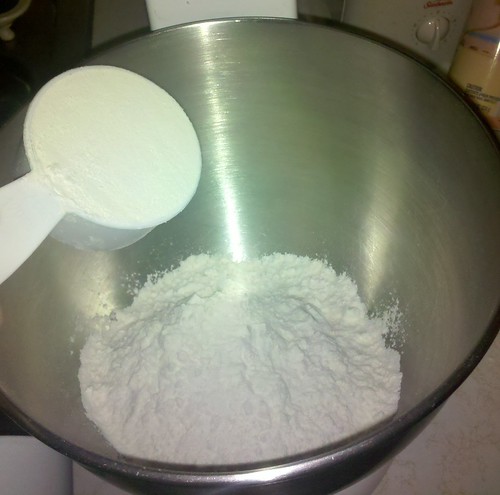
I half the provided recipe to make only one loaf at a time. I included this photo of measuring out the 5 1/2 cups of flour because if I have learned that anything is a key to my baking success, it is using beautifully level scoops like this one:
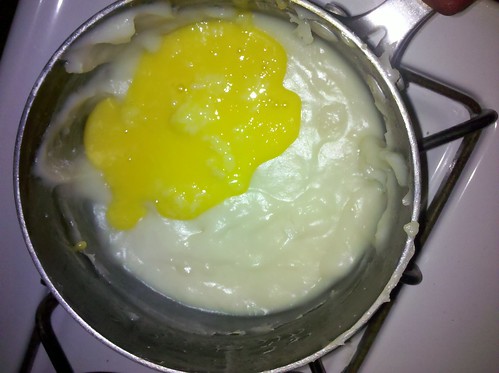
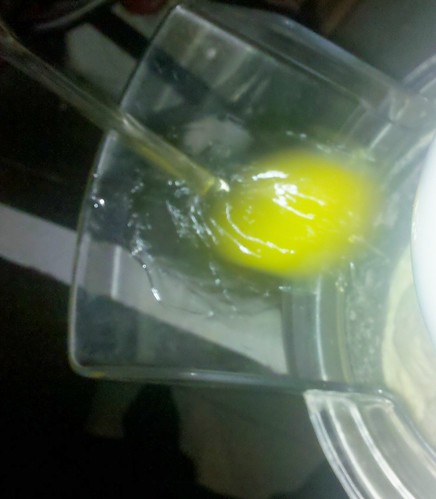
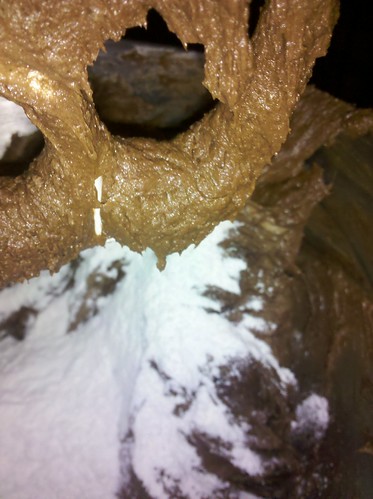
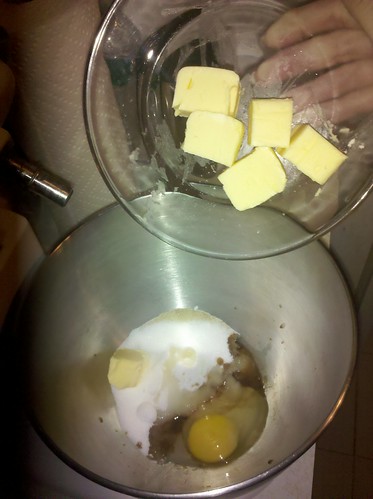
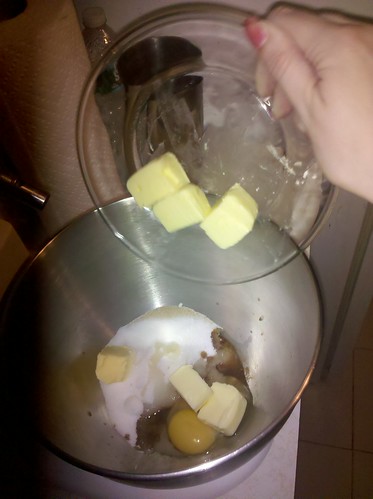
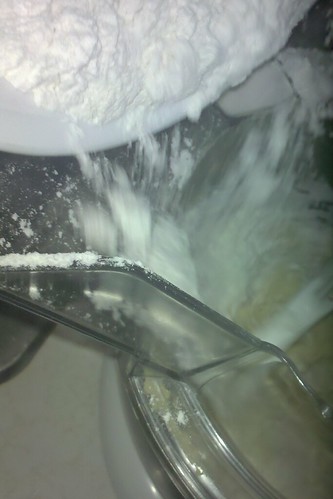
After combining the liquid ingredients (and using a candy thermometer to watch the temperature), I put on my KitchenAid's pour-shield and began adding the liquids to the yeast/flour mix.
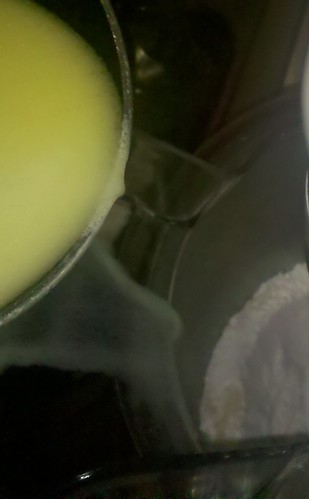
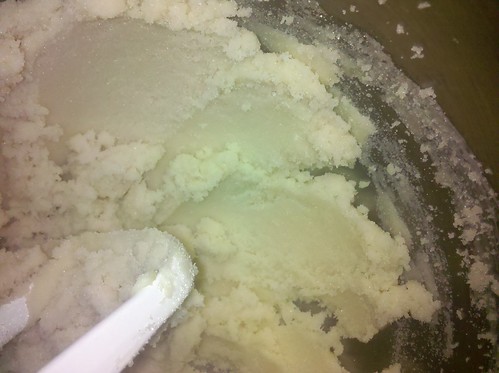
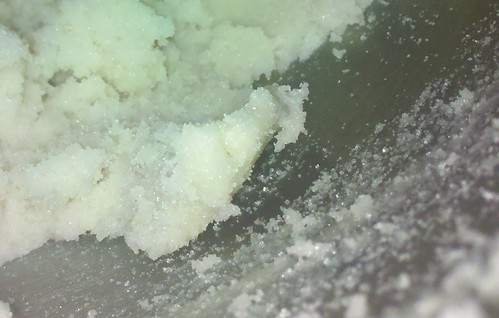
No matter how I pour, when dragging it out over 30 seconds, the yellow-ish part of the mixture (the butter) always goes in first and the last ten seconds are always much more white (and milky). But it comes out just fine.
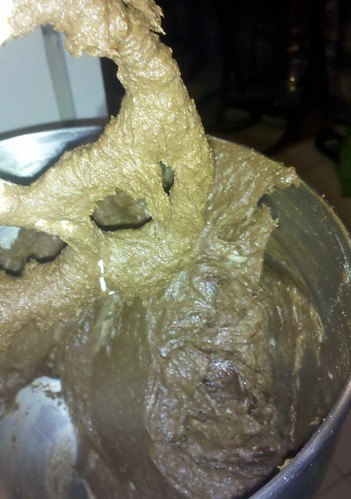
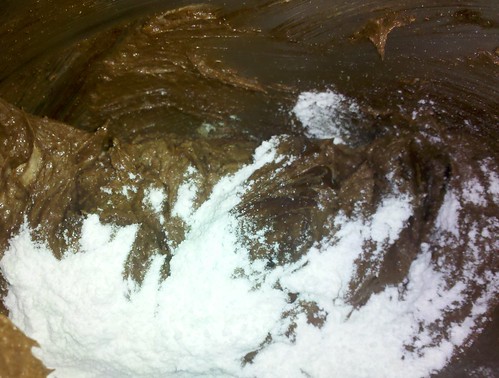
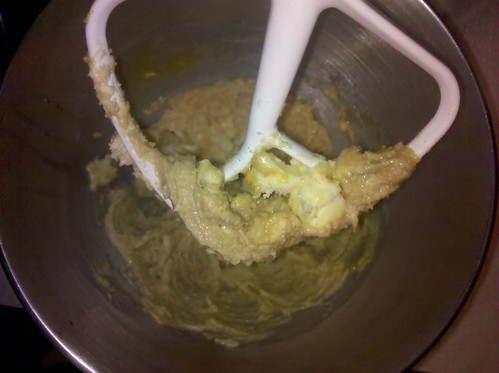
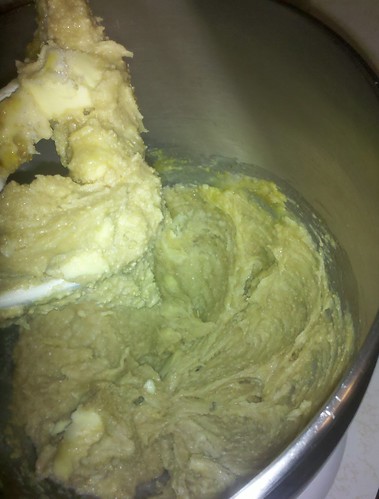
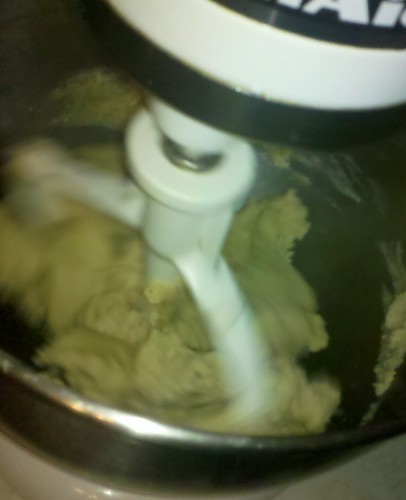
The bough is usually mostly clung to the middle by the time the "add remaining flour" instruction pops on, but I always throw another 1/4 cup of flour in and watch it incorporate itself. Then once it's well blended in I wait the last 2 minutes of kneading.
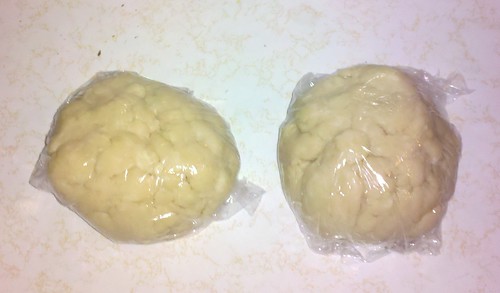
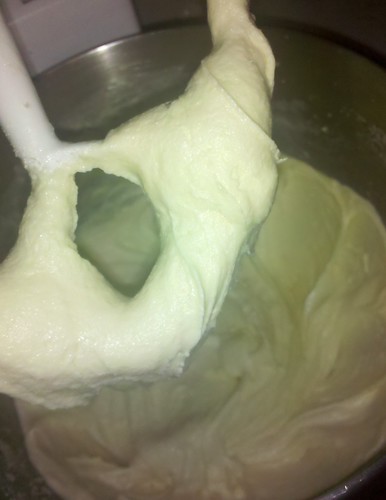
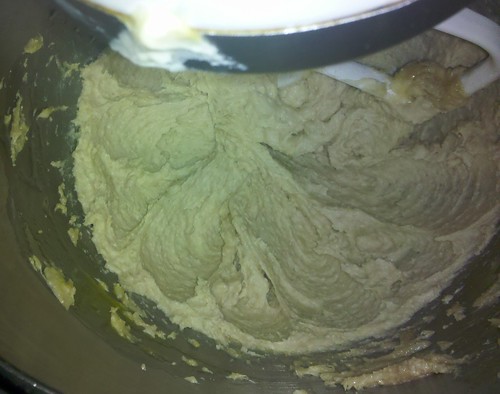
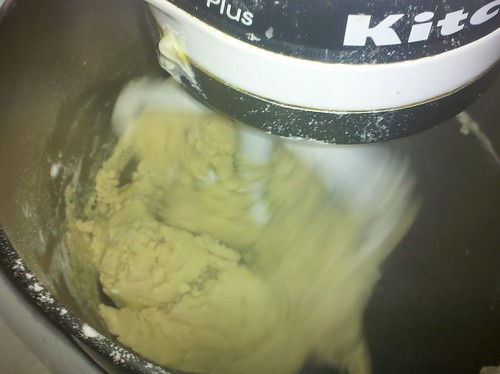
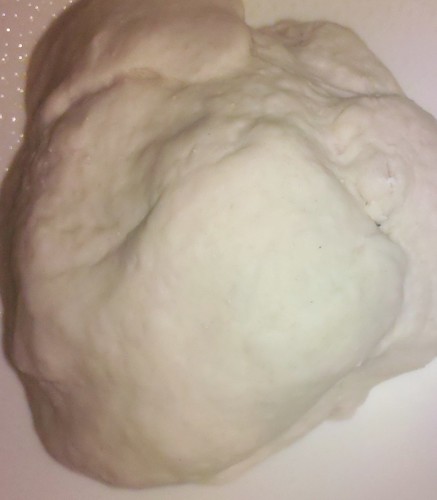
When I lift the mixer head, the dough is all stuck on the hook, I start at the top of the hook and just pull the whole ball off. I pat it smooth and put it in a greased bowl to rise.
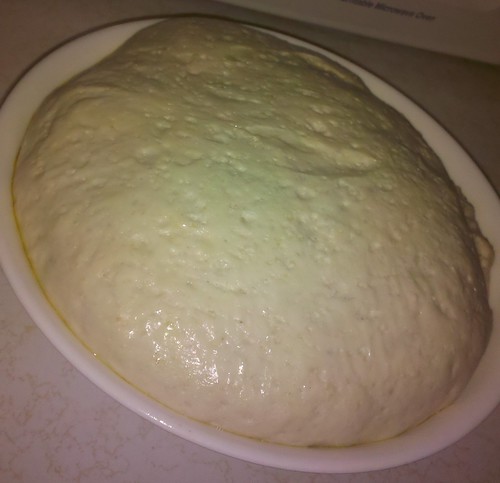
That hour does a world of difference - look how big it gets!
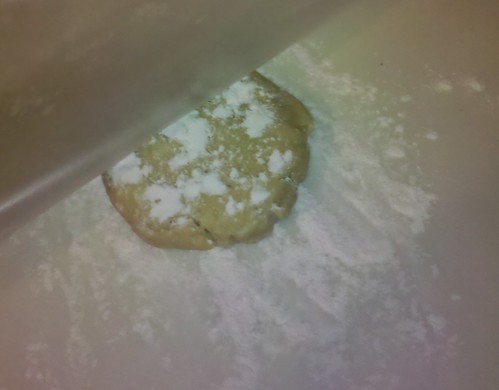
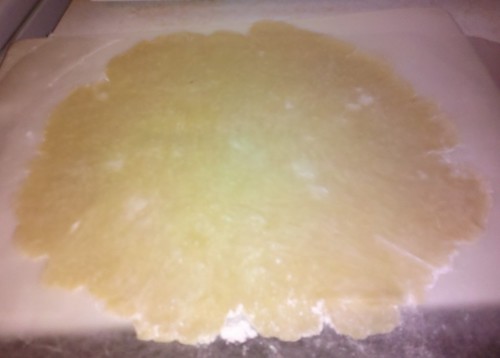
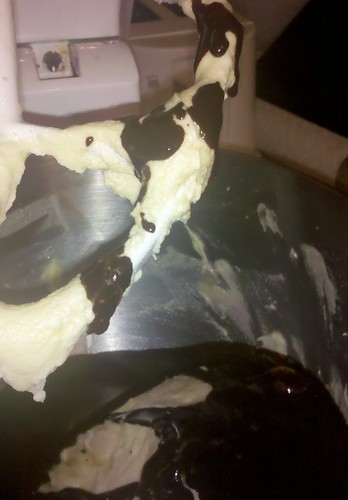
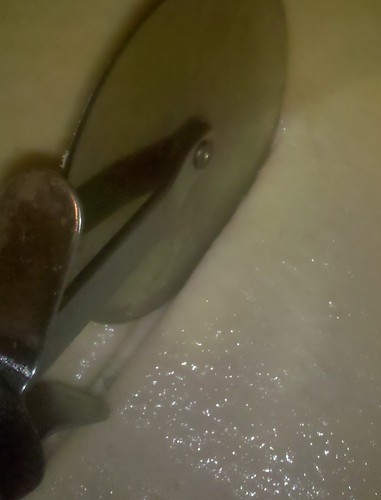
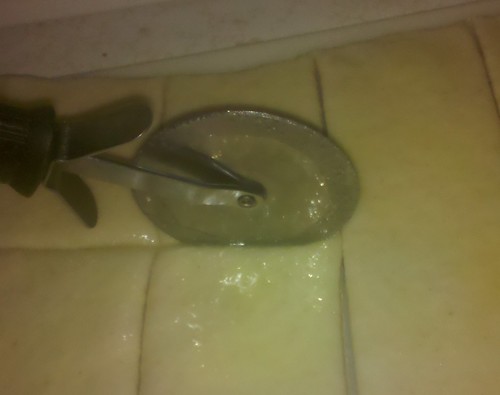
Then it's time to roll it out flat, add the garlic butter and slice:
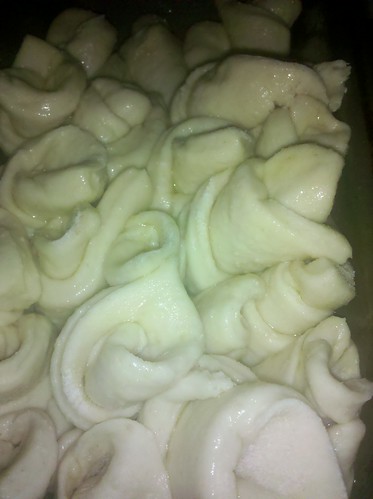
My fingers were too buttery to take photos as I twisted each piece I cut, but I just twist each piece around my finger before lining them into a well greased loaf pan. I do cut more than 16 pieces now...sometimes as many as 30, but generally around 22 or so.
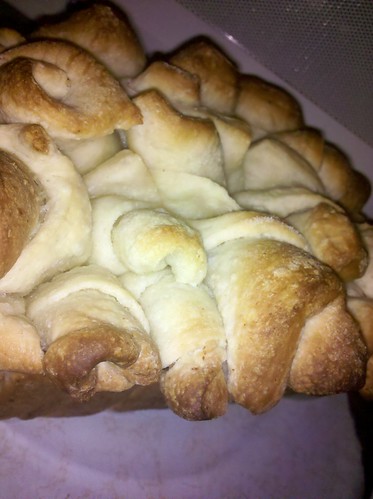
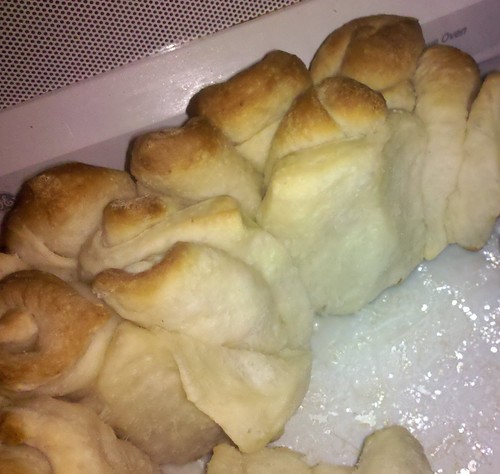
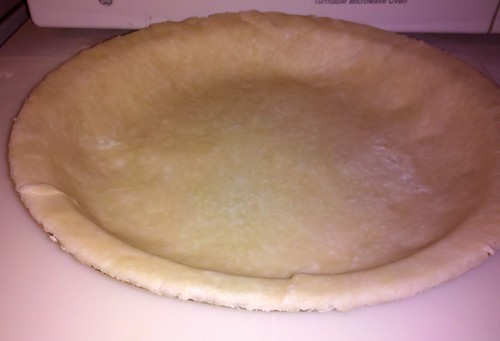
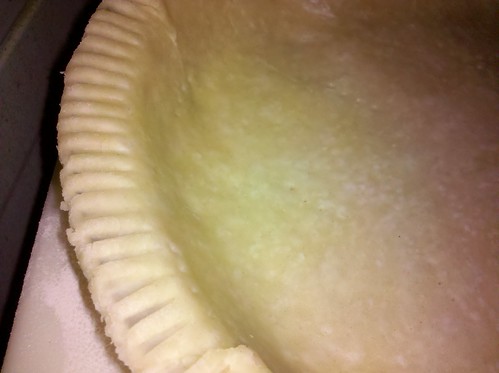
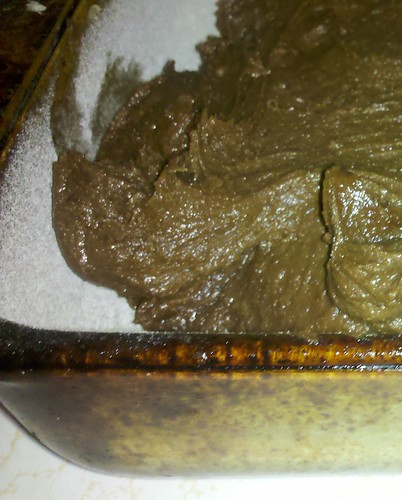
Once the loaf is assembled, it looks like this, and needs to rise again for another hour:
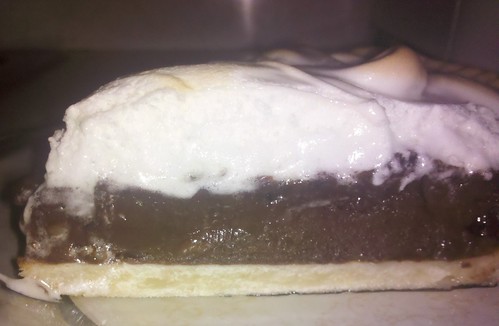
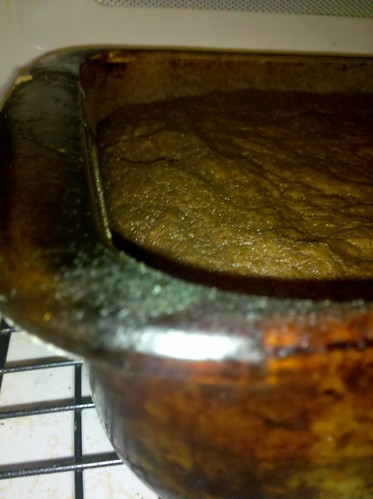
Then after an hour of rising and a half hour of baking (half way through I tented foil very loosely over the top to keep it from scorching), it came out of the oven looking beautiful!!