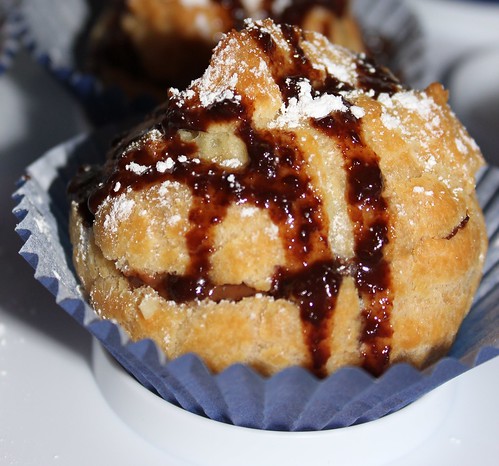
Chocolate-Filled Cream Puffs
When I first got my Kitchen-Aid mixer a large number of years ago I went through the recipe book and selected what I deemed "the most complicated thing in the book." Chocolate-Filled Cream Puffs. They came out perfectly! I've made them about a dozen times since then and even won a local-scale award for recreating them while camping once.
Here they are for your enjoyment:
I used a recipe that came with my Kitchen-Aid Mixer. For the first time in the history of this blog I am going to with-hold that recipe. When attempting to google for it, I found others who had subsequently lost their Kitchen-Aid cookbook and were seeking the recipe, I think I will hold it as a treasure to my heart. Believe me, the photos tell the story well enough.
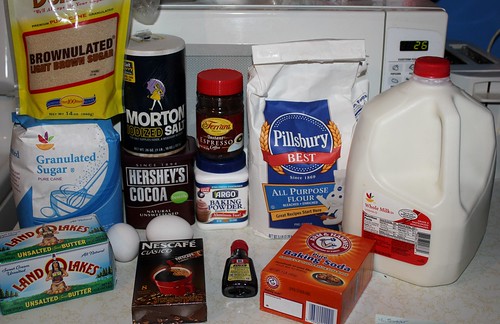
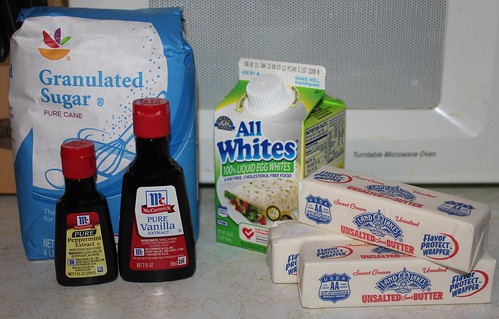
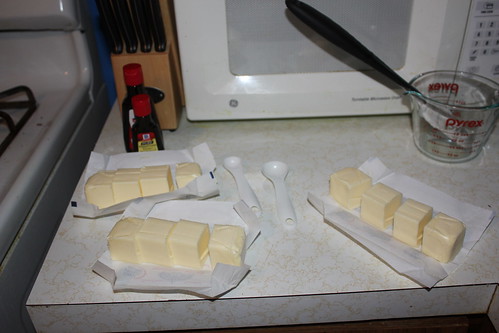
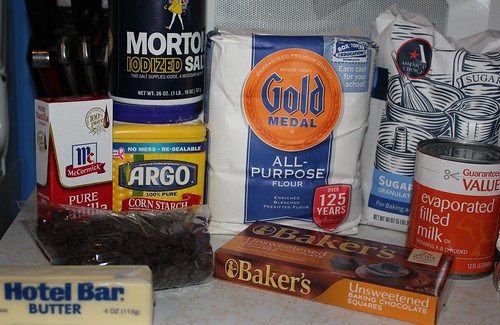
I started with these quality ingredients and eggs...why aren't the eggs in the photo?
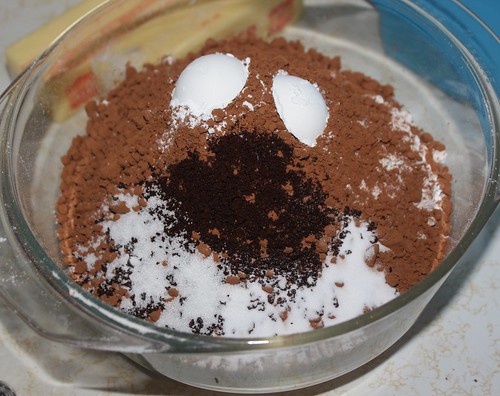
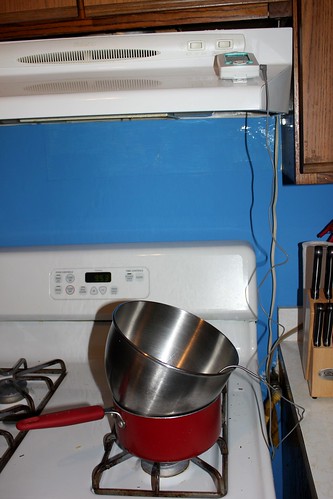
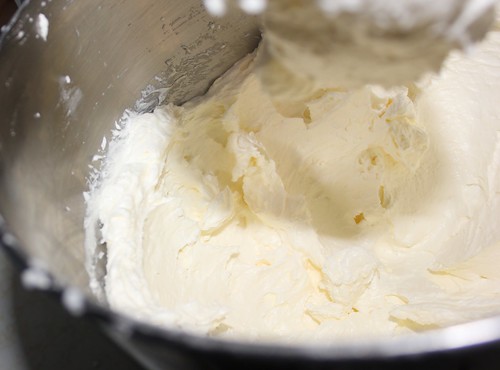
To Make the filling, a story unfolds...
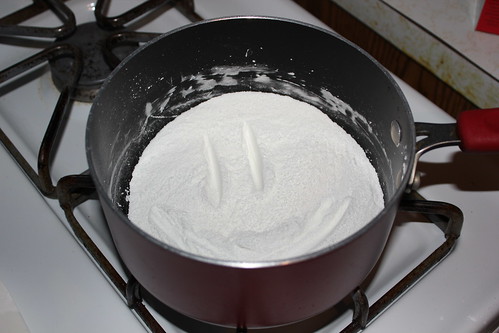
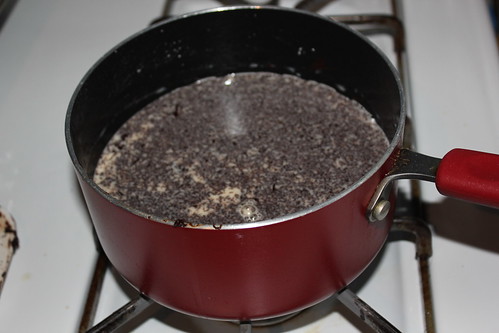
This is cornstarch in a pot. It is happy.
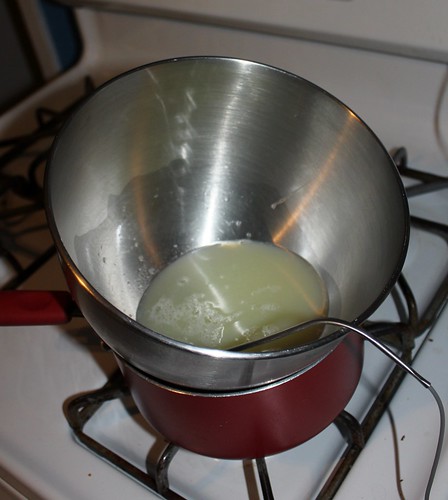
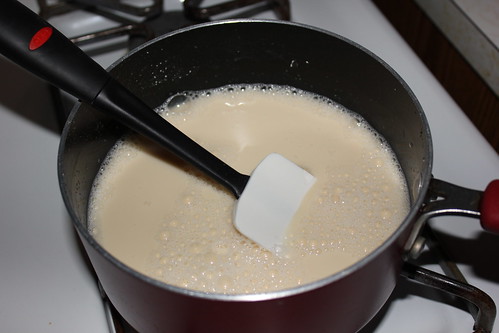
Now evaporated milk has dissolved that happy cornstarch, oh no!
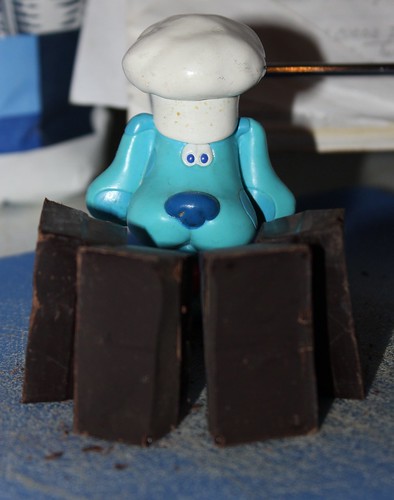
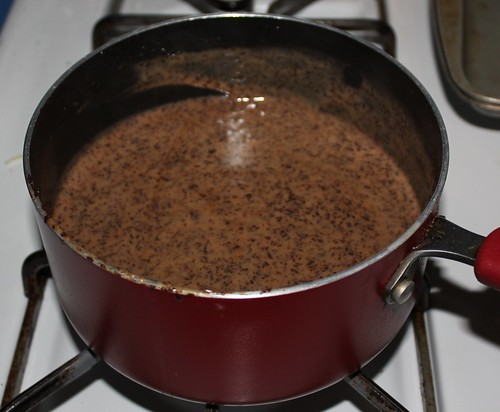
Chocolate has come to avenge the cornstarch!
Baking chocolate is interrogating Chef Blue for what he knows about how to bring down evaporated milk.
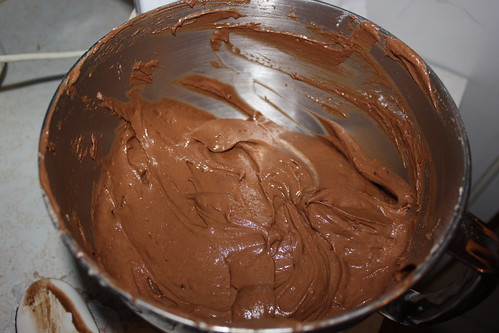
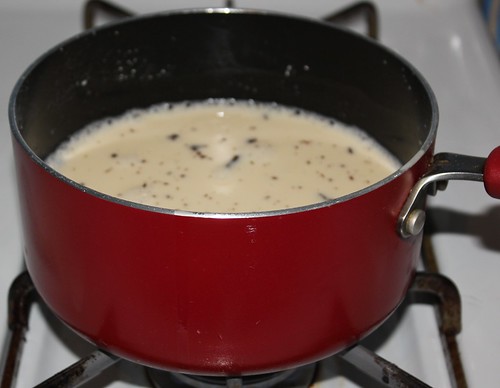
As chocolate melts into the evaporated milk, it thickens.
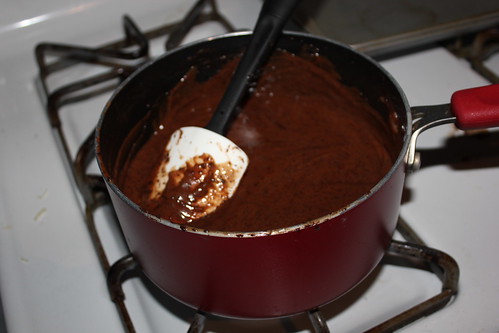
And thickens.
And thickens. Something, almost chemical happens at this moment in the recipe and as you're stirring constantly, you can really feel it. Suddenly the mixture is no longer evaporated milk, but rather chocolate filling infused with the power of cornstarch to create the perfect consistency.
Into the fridge for storage, overnight or 8 hours.

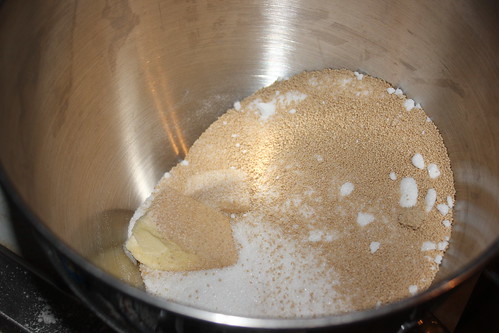
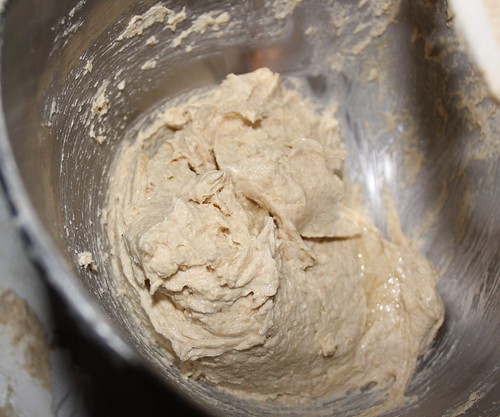
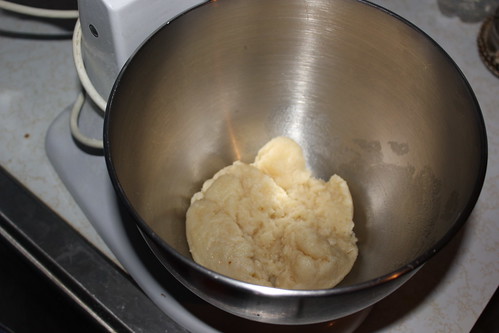
To make the dough:
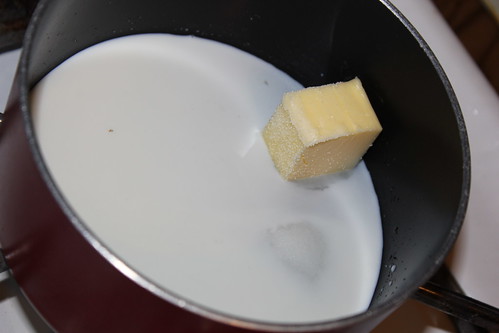
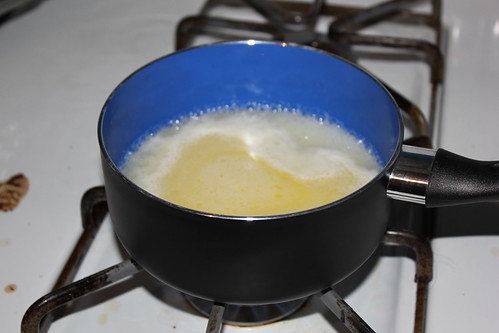
Butter, water, and salt in a "diamond-texture" saucepan I bought from an infomercial and LOVE.

After it comes to a boil it's time to add the flour.

Again, chemistry takes over and a dough forms instantly and you're cooking it in the pot like it's a frying pan. As soon as you can see the dough curling away from the edges of the pot, you know it's done. Time for the mixer.
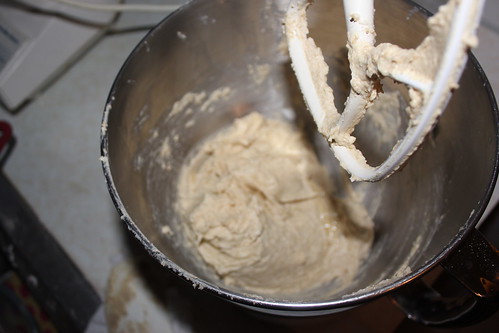
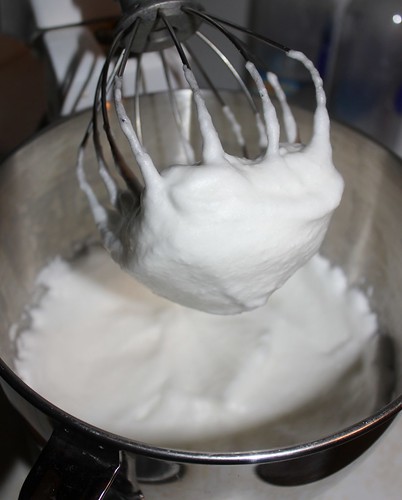
Adding eggs.
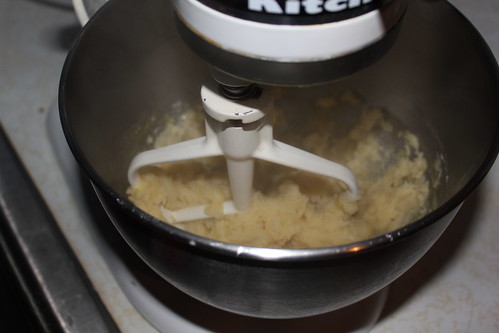
More eggs.
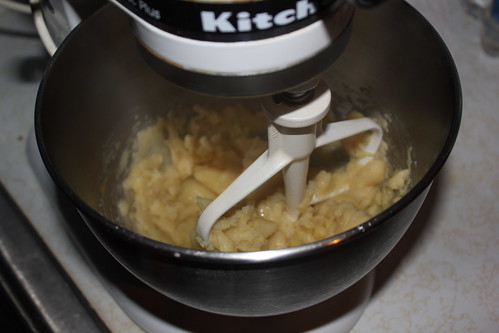
More eggs. Until it looks like a paste.
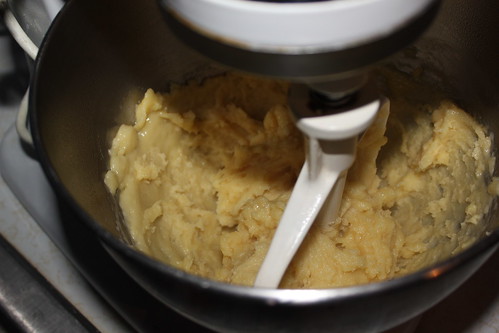
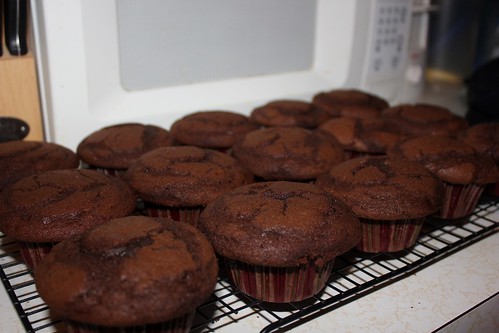
I selected this recipe because of the specificity and precision of the way it is written. It says "scant 1/4 cupfuls of dough" and I actually measure and every time, I have exactly enough for 12 perfectly shaped balls.
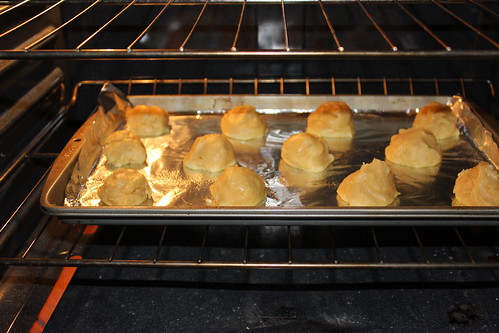
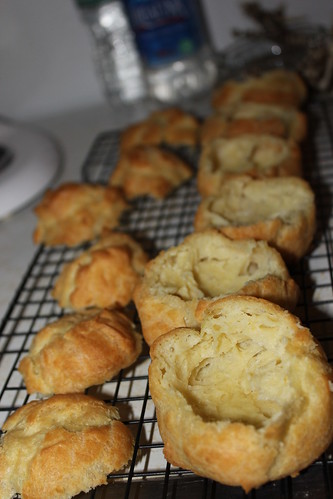
They smell like they're done 10 minutes in, but if you take them out they will fall. The full cook time ensures a stiff rise (teehee - 3rd grader giggle)
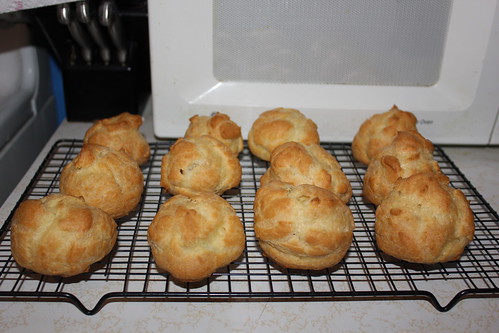
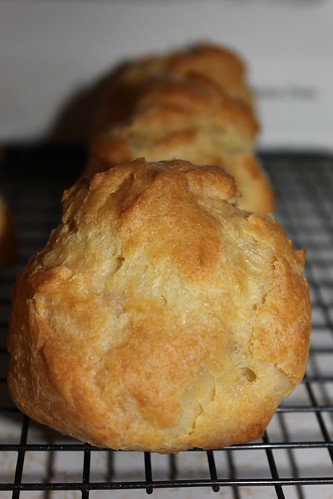
I almost don't even want to cut them into halves.
Next, in a sad turn of events, I scrape out all the tasty dough in the cavities. It's a little to raw and eggy looking for me to eat much of it, but it is tasty.
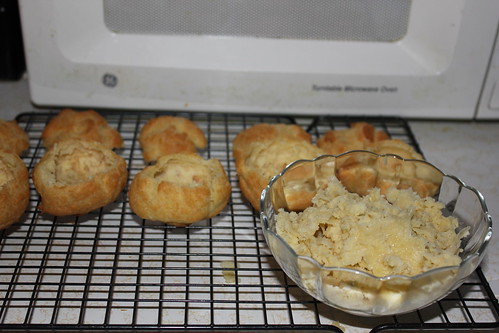
Look at all those neatly lined cups just waiting to be filled.
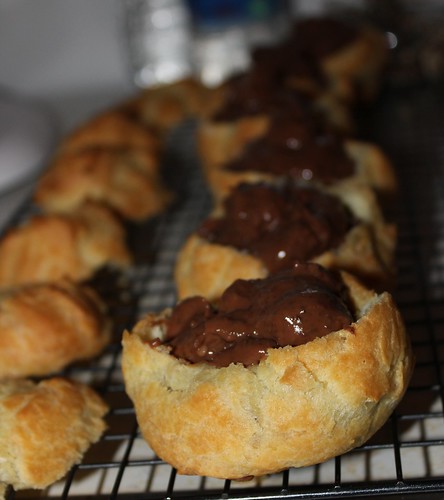
Refrigerated filling, where are you? Again the precision comes in, I measure out 1/3 cupfuls and it fills the cavities perfectly. I *always* have filling left over, I top-off any cups that don't have that perfect degree of over-stuffed-ness, but usually this is minimalist because that 1/3 cup measurement is so spot-on.
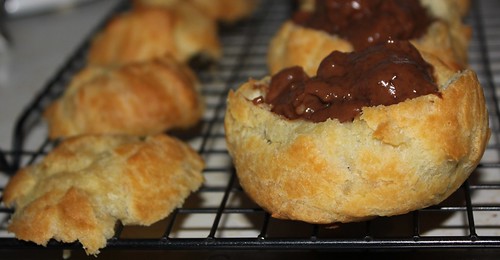
It is at this point that my husband starts wanting to eat them, but they're not done yet. They still need the ganache drizzle.
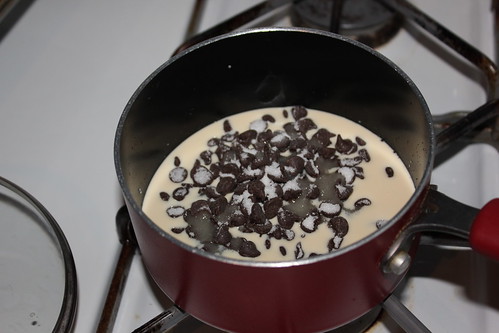
Made with evaporated milk, sugar and chocolate chips
And topped with powdered sugar for a delectable dessert.
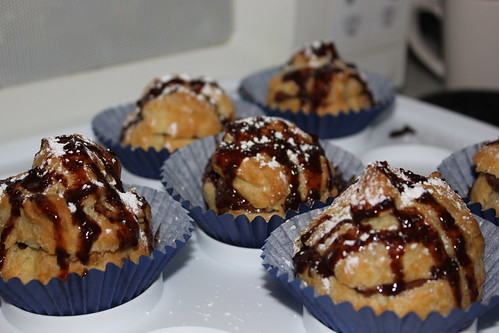
Now that's what I call snack-y happiness.