I reviewed several recipes before selecting one, and this one was the first I selected from this website, but I'm going to say here again, that I really enjoy the format their posts follow. Though, I dislike internet video so I don't watch the videos. So, I picked this recipe:
http://www.joyofbaking.com/BananaPudding.html
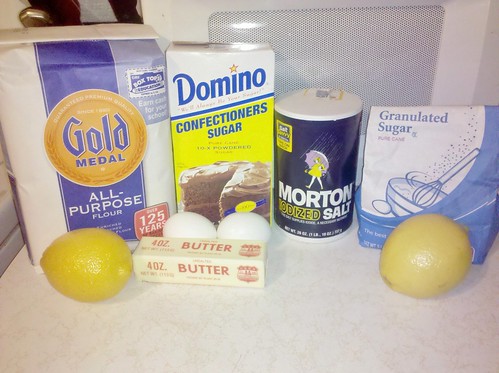
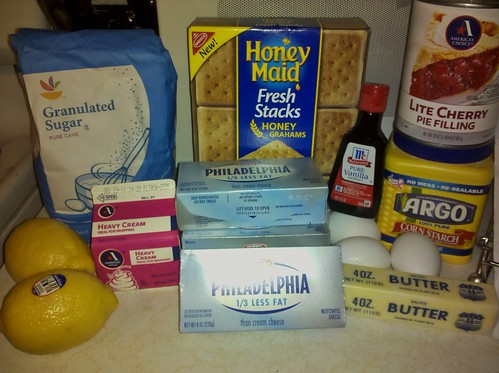
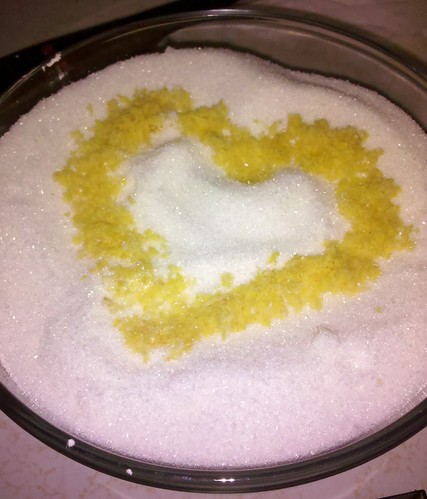
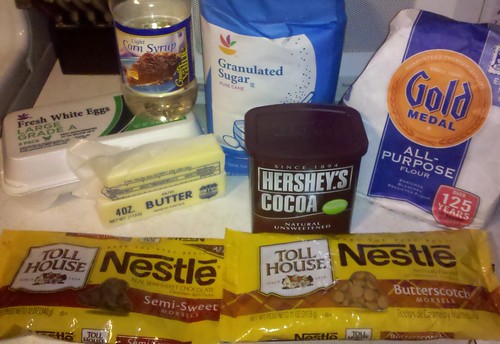
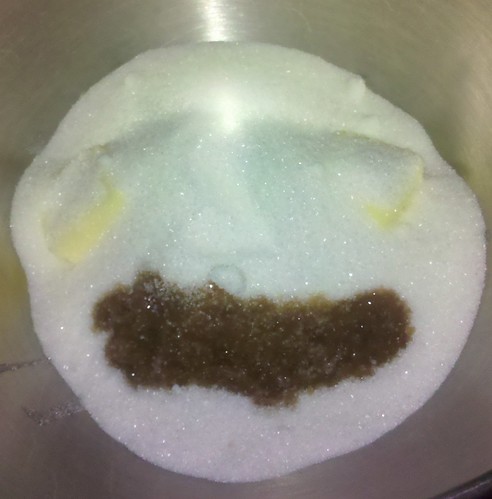
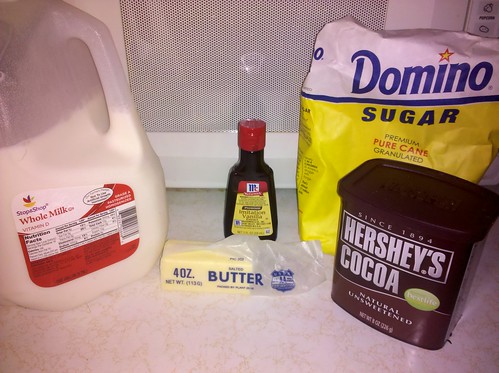
I started with these quality ingredients:

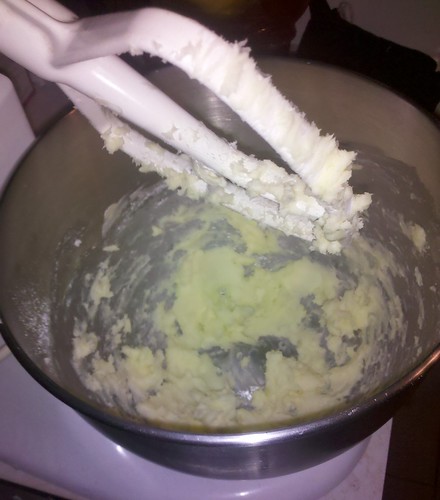
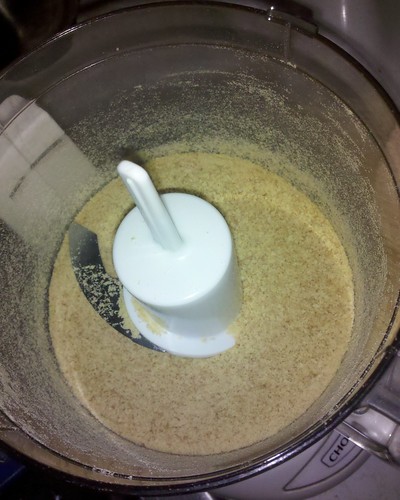
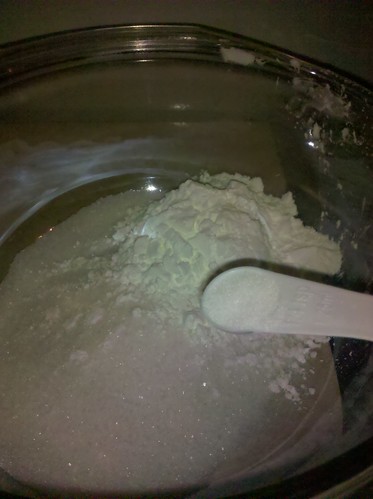
I started with the 1/3 cup of sugar, the salt and the cornstarch
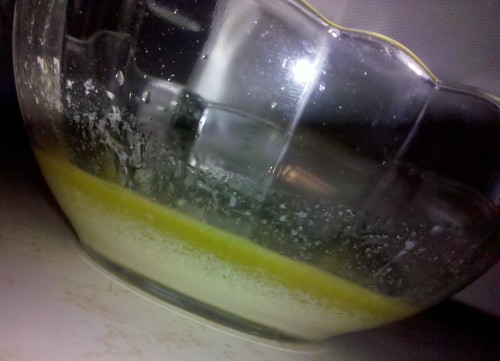
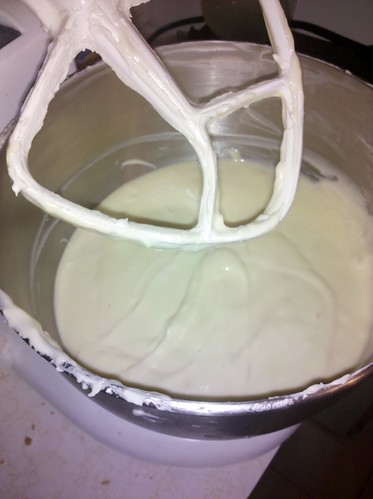
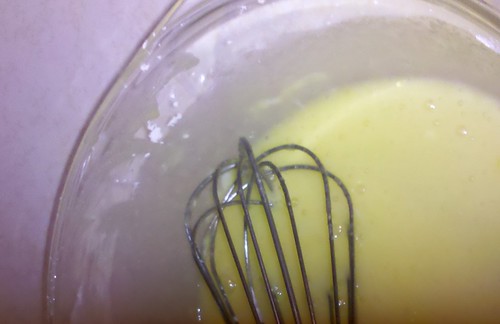
I cracked the first two eggs right into my large glass mixing bowl. This third one, I separated, and used only the yolk:
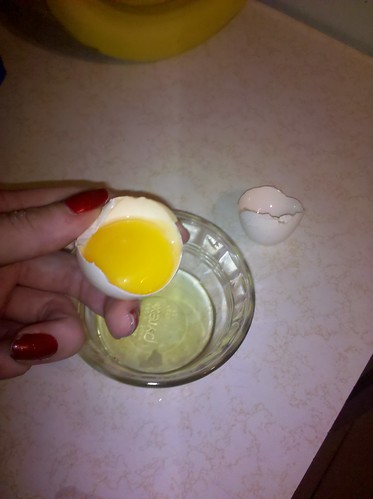
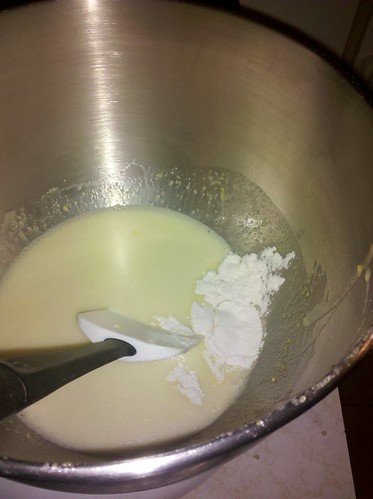
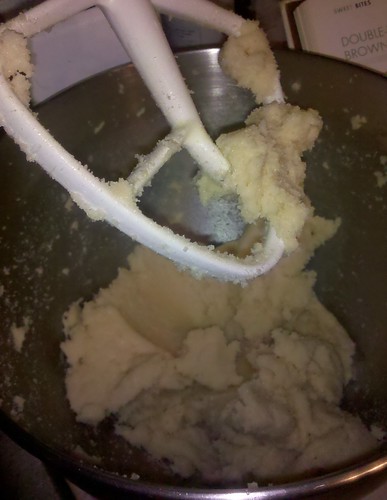
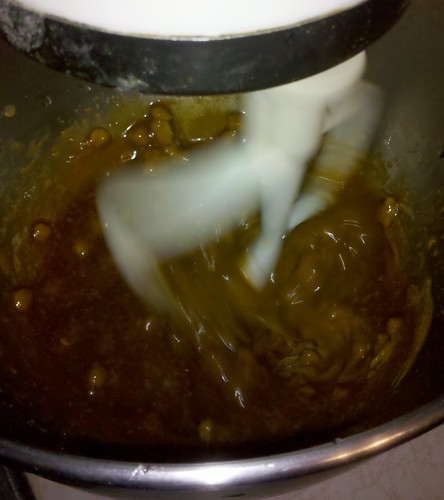
I whisked in the eggs, yolk and the 1/2 cup of milk:
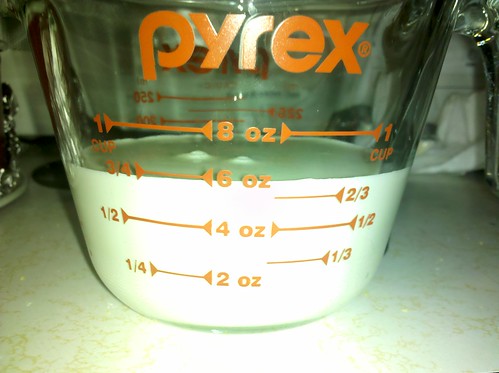
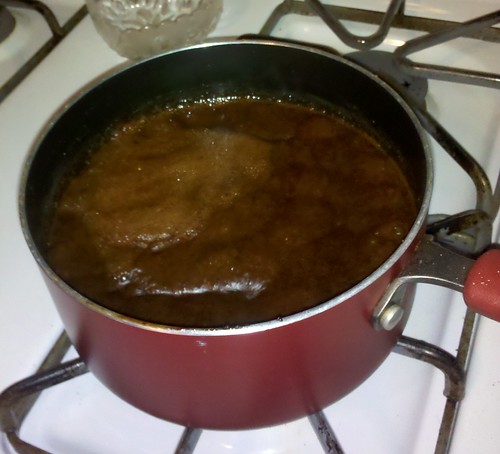
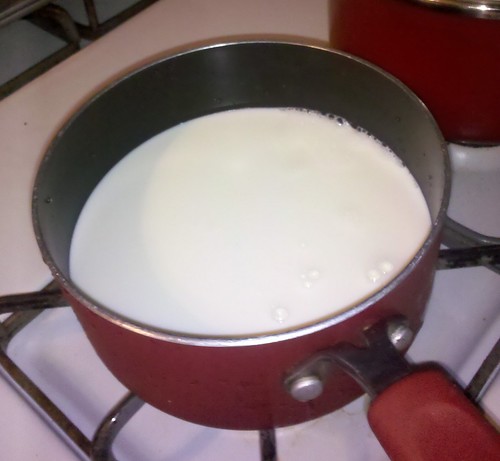
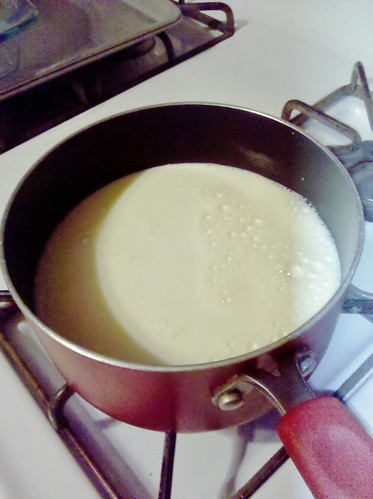
I followed the recipe's advice about rinsing my medium saucepan with cold water.I then put the rest of the milk and the remaining sugar I heated into the pot over a medium heat:
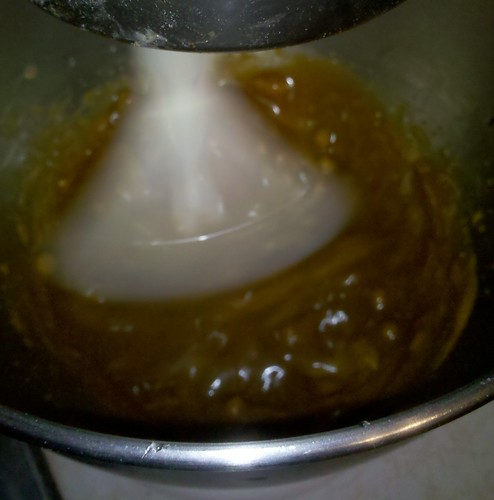
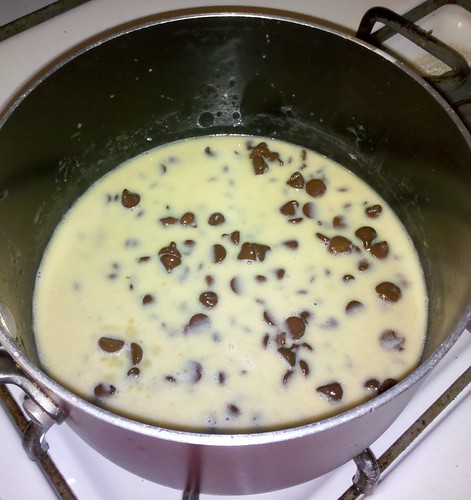
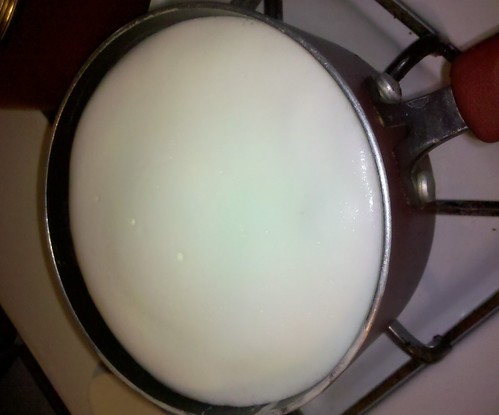
Milk really fills the pan when it boils, I got this shot at just the right time as I was taking the pan off of the stove:
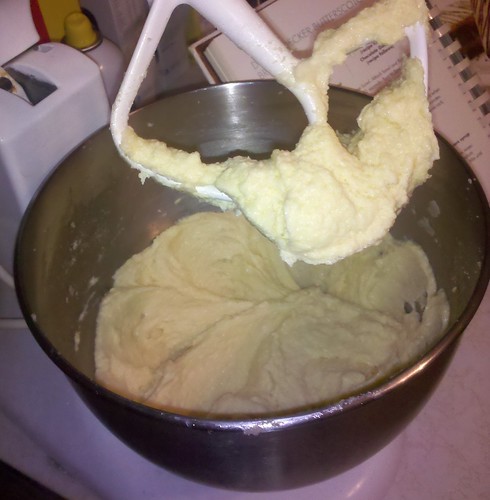
I slowly poured the hot milk mixture into the egg mixture while whisking.
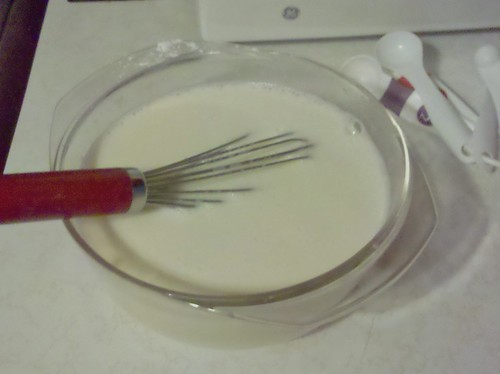
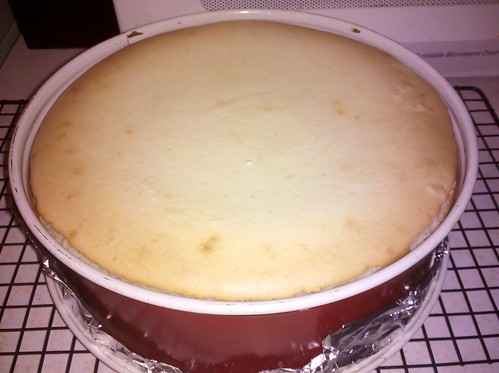
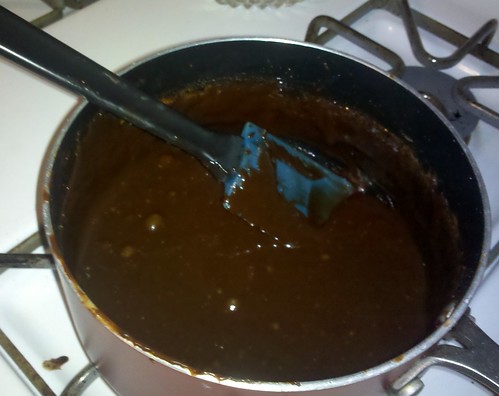
I transferred this new mixture to a large saucepan and heated it over medium-low heat for about 4 minutes.
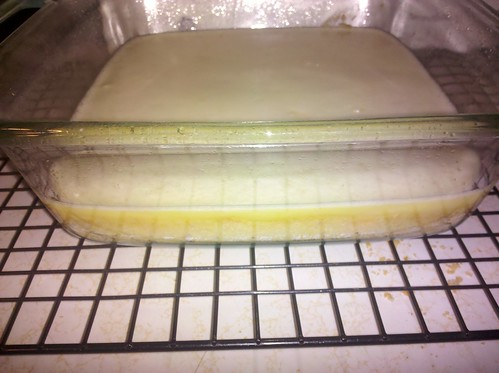
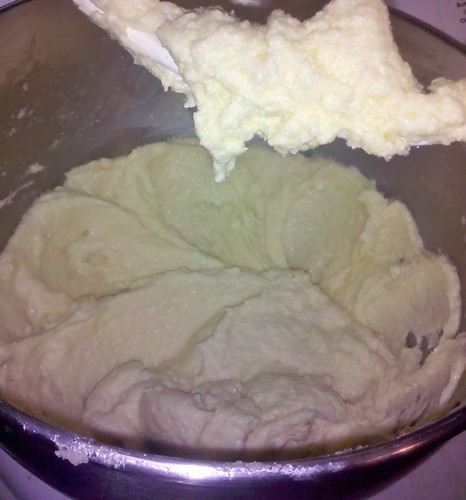
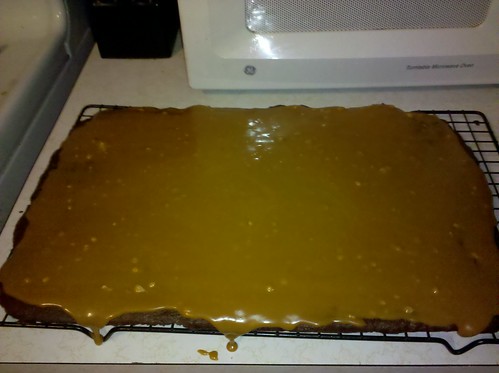
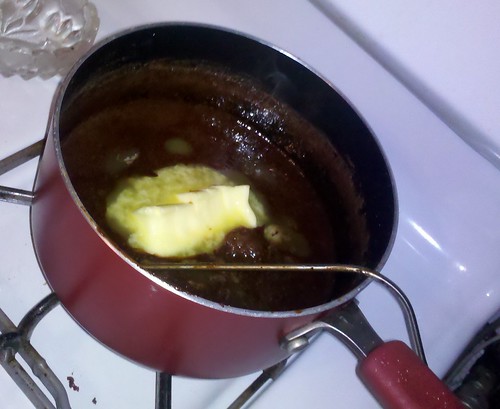
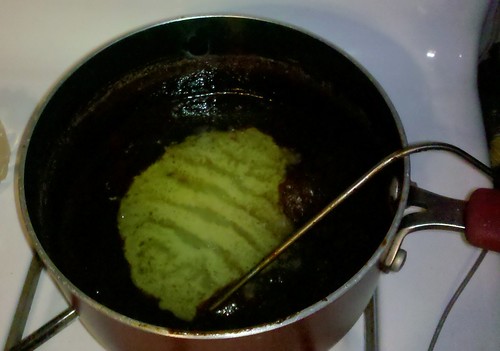
After whisking in the vanilla and butter, I poured the pudding through a strainer (which was hard and messy) into another glass bowl, covered it and put it in the fridge overnight.
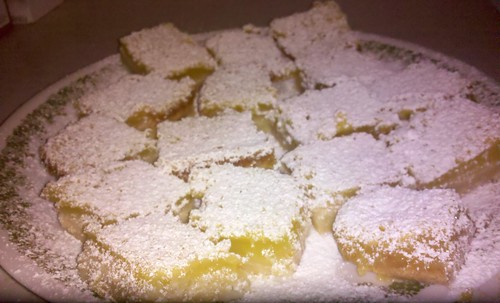
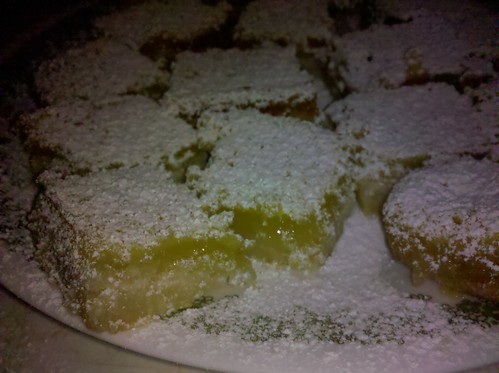
The next morning I took out a fancy glass serving bowl I have and lined the bottom with vanilla wafers. I spooned in some pudding. Then I made a ring of fresh banana slices and another layer of cookies, then more pudding. I followed this pattern until the pudding was gone, which was, thankfully, right around when the bowl was full. :-)
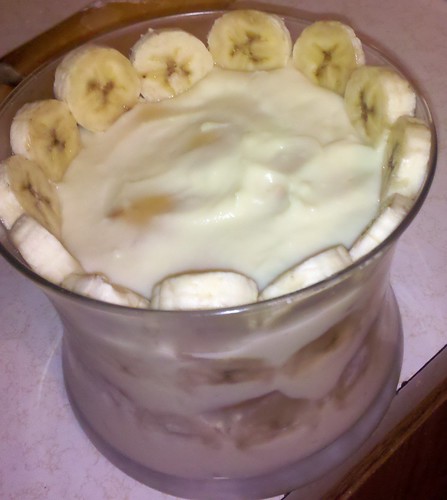
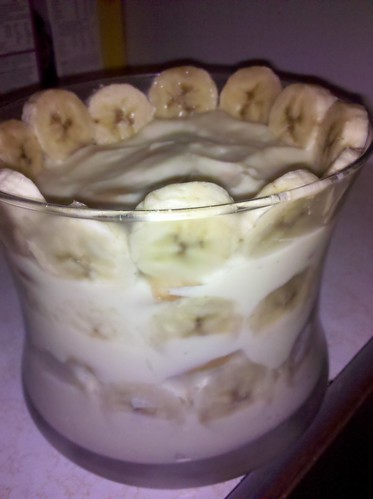
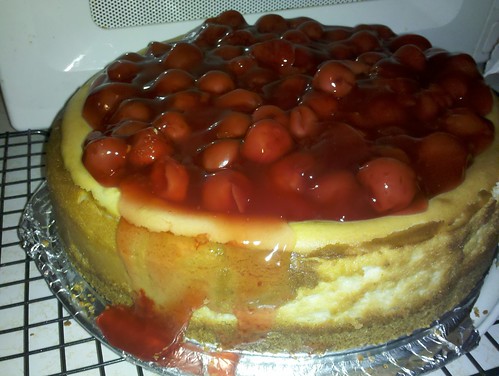
Bon Appetit!