Cookies

Cookies
A haven of snack-y happiness!

Tuesday, August 30, 2011

Rainbow Cupcakes

Again my love for food coloring combats the stresses of real life. So while being threatened by Hurricane Irene, I tried out a recipe I've been thinking about for a while:
Rainbow Cupcakes

Unfortunately I did not have enough confectioner's sugar to follow this recipe's suggestion for buttercream frosting, so I found a different one to follow:

http://www.joyofbaking.com/VanillaCupcakes.html


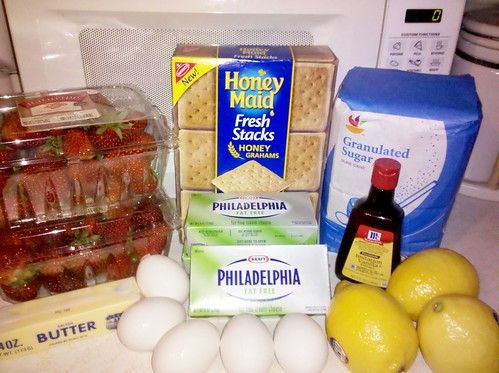
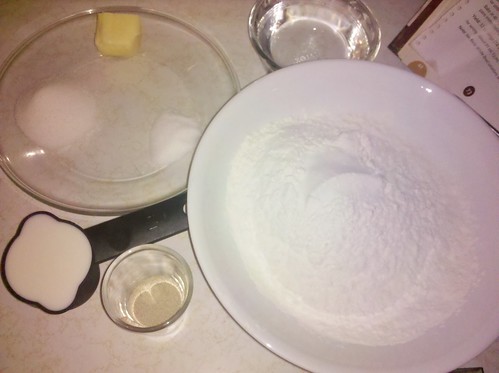
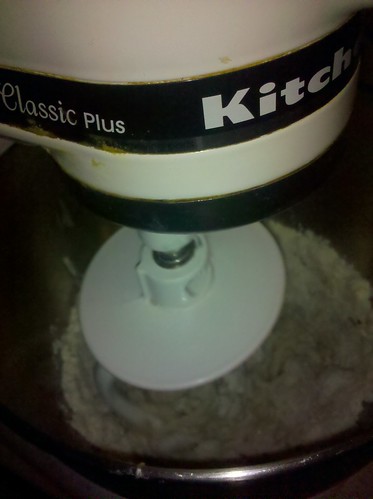
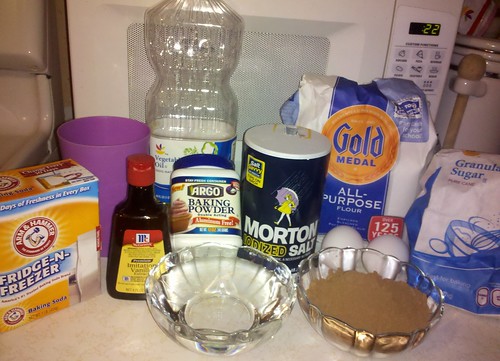
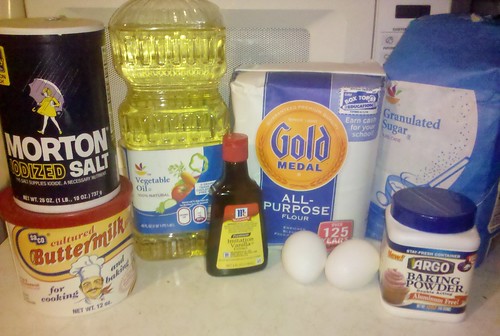
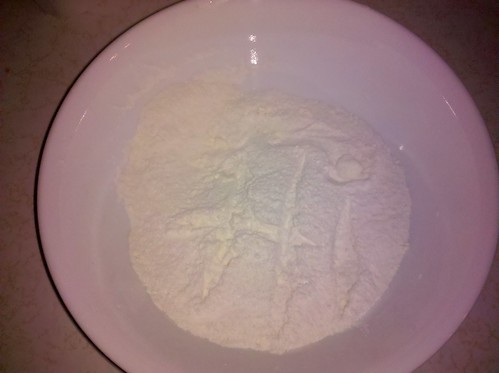
So, I started with these fine ingredients:
IMG_20110828_011957


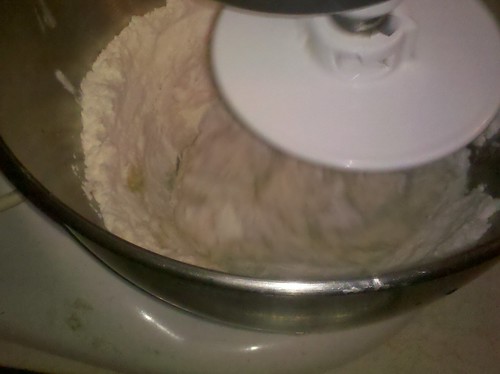
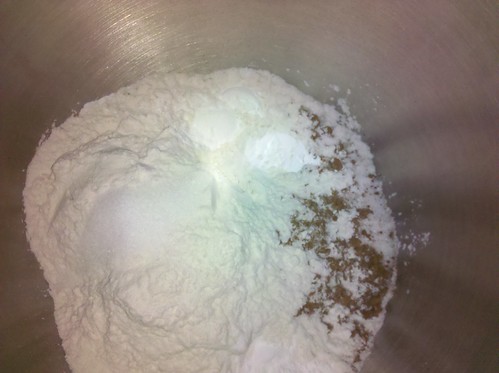
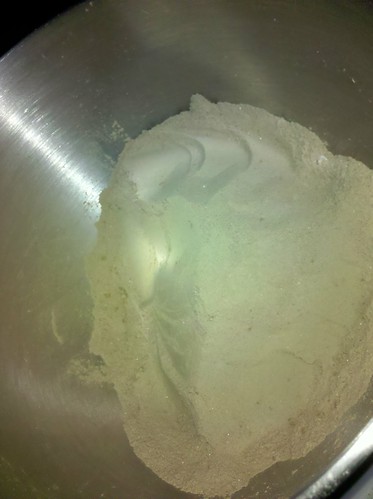
I combined my dry ingredients and sent you a secret message:
IMG_20110828_012505

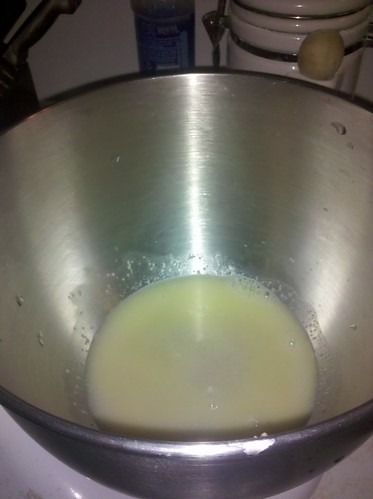
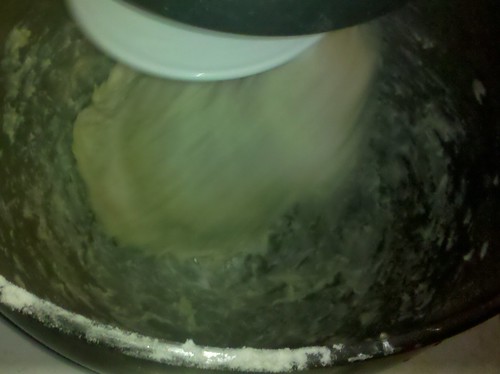
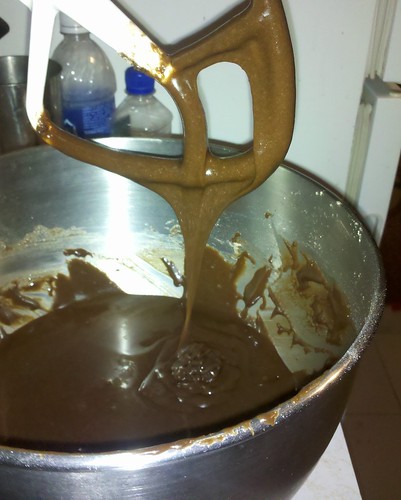
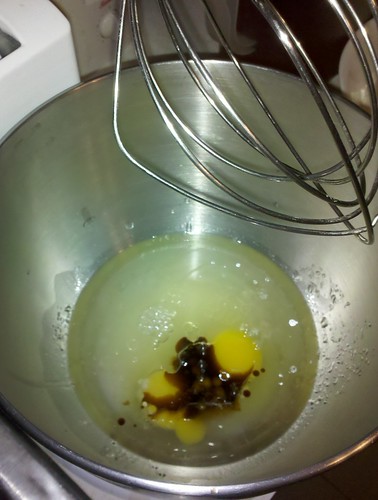
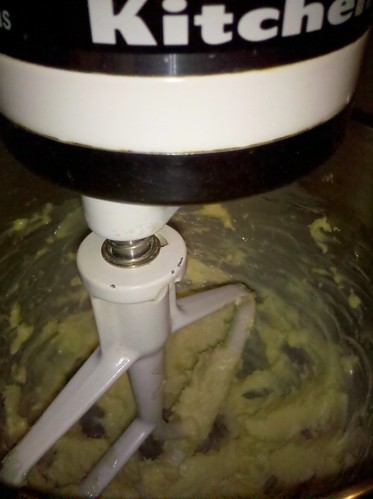
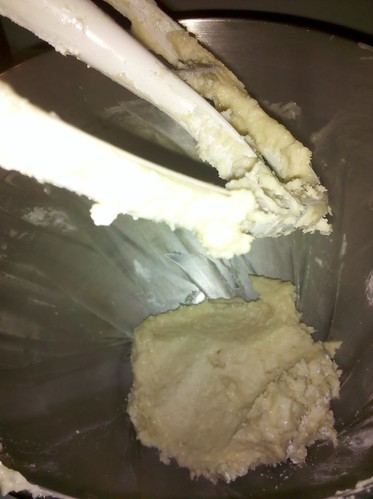
I love my camera - the sharpness of the whisk-head on the mixer here as I combined the wet ingredients is awesome!
IMG_20110828_012825

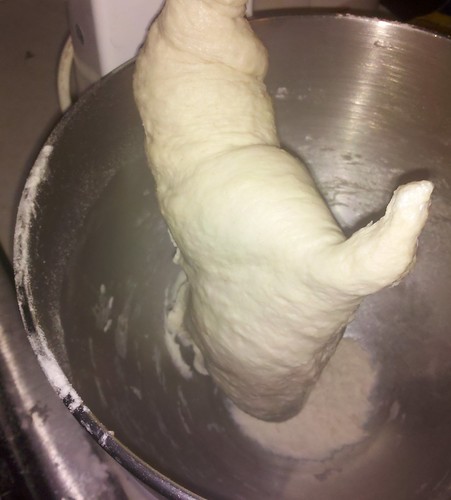
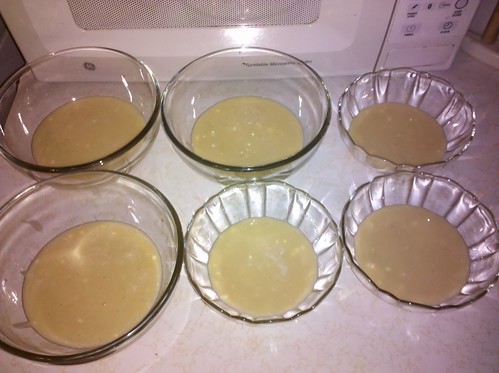
After I mixed the two together until "just combined," I poured roughly equal amounts into six bowls.
IMG_20110828_013214

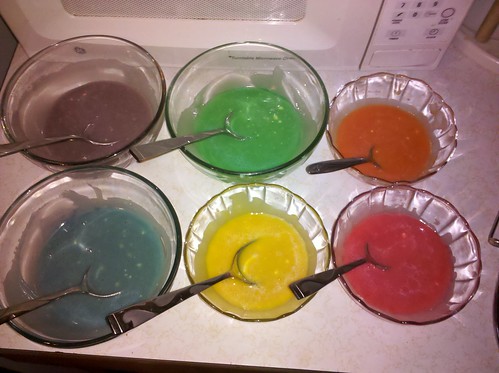
I then added 6 drops of color to each bowl:
IMG_20110828_013644

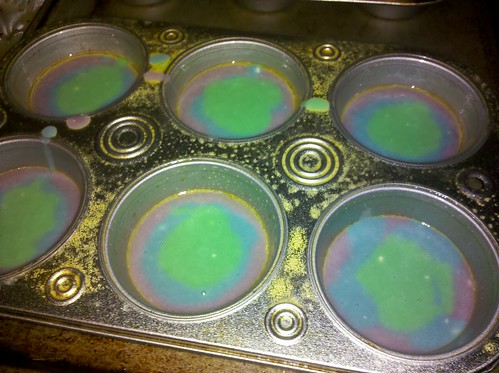
Starting with the purple I poured tiny amounts into each pan (it barely made a full circle on the bottom with the first color) and STILL I only got 7 full cupcakes and one tiny one despite the recipe claiming it makes 10.
IMG_20110828_014347

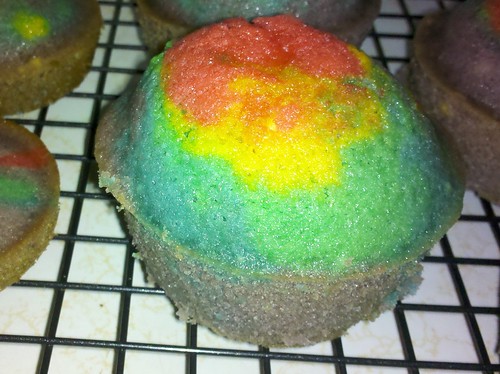
After 17 minutes of baking they looked adorable and popped right out of the pans after a quick run around the outsides with a butter knife.
IMG_20110828_021510

I cooled them on a wire rack completely while whipping up the icing.
IMG_20110828_021517

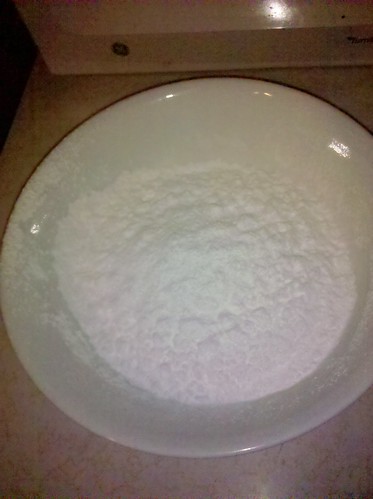
I started by sifting what powdered sugar I did have into a medium bowl:
IMG_20110828_020003

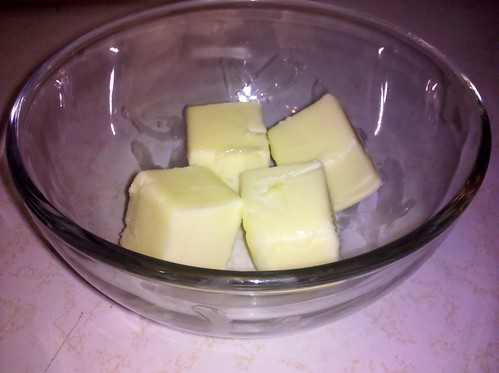
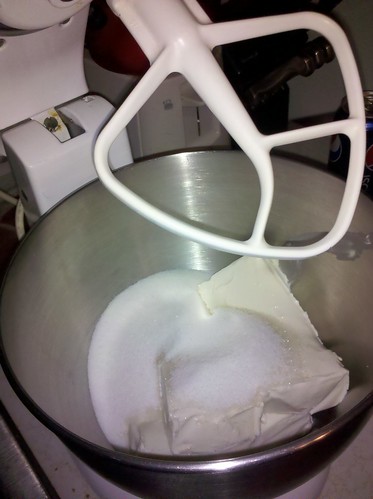
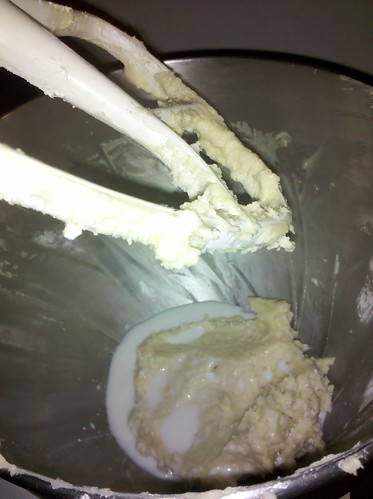
Then I creamed the butter:
IMG_20110828_020501

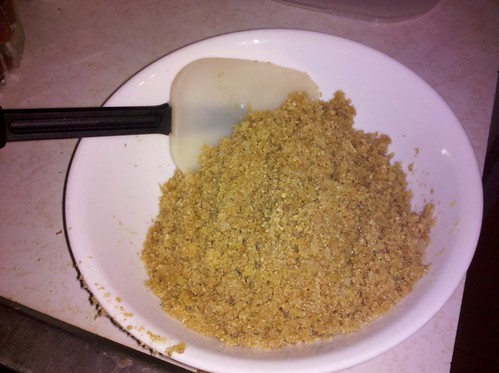
When I added the two together it made a rather small ball of goo:
IMG_20110828_020937

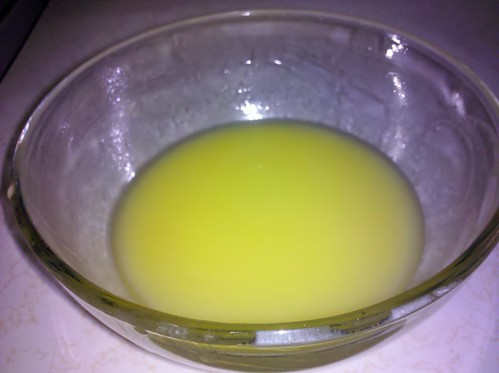
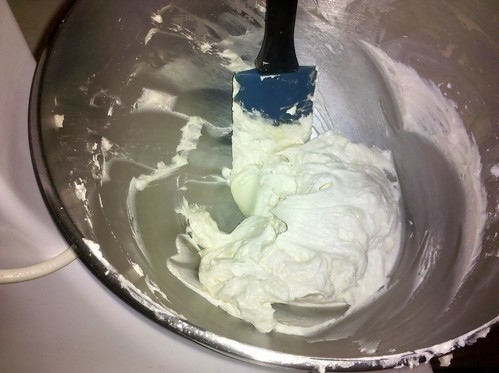
I added the milk, which didn't look like it was going to do much:
IMG_20110828_021028

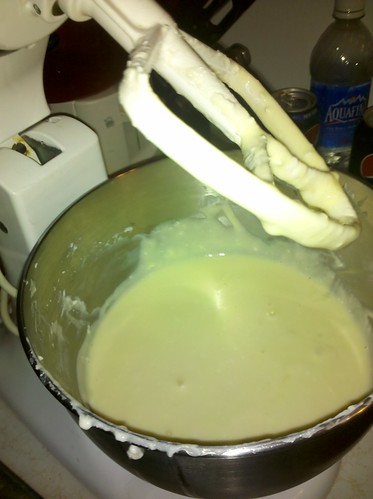
But actually, after 3-4 minutes, it looked rather fluffy!
IMG_20110828_021626

I loaded the icing into a ziplock bag and snipped off a corner:
IMG_20110828_021749

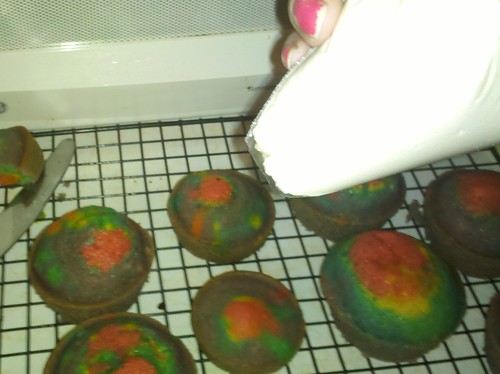
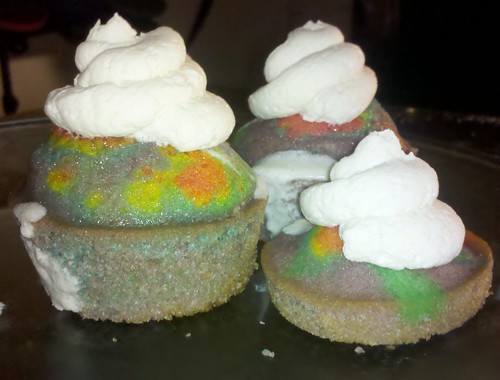
Then I put an adorable little curlique of icing atop each cupcake for delicious rainbow cuteness!
IMG_20110828_154703

Sunday, August 28, 2011

Strawberry Cheesecake Bars

So while I was waiting around for the bus, I wondered what I could make that was different. And it struck me: Strawberry Cheesecake Bars. So I googled a recipe. And conveniently for me both strawberries and cream cheese were on sale this week at my local grocery store. :-)

http://dessert.food.com/recipe/wiltons-strawberry-cheesecake-squares-198818

So I started with these fine ingredients:
IMG_20110821_163457


As the recipe instructs, I started by making the crust.
I love any excuse to use my food processor.
IMG_20110821_163712

I poured the crumbs into a measuring cup and then into a bowl.
IMG_20110821_164154

Then I zested and zested and zested and added the lemon zest and sugar to the crumbs.
IMG_20110821_170346

I cut the butter into smaller chunks so that it melted easier.
IMG_20110821_170553
IMG_20110821_170839

When I mixed it thoroughly into the crumb mixture it looked dark, but really not damp.
IMG_20110821_171119

I pressed this mixture into my prepared pan.
IMG_20110821_171402

I baked the crust as directed and began cutting strawberries.
IMG_20110821_174036

I placed the cream cheese and sugar into the mixer bowl.
IMG_20110821_173351

I forgot to take a creamed photo, but here's one after I added the eggs:
IMG_20110821_173851

Then I added in the strawberries for a dash of summer-y fun.
IMG_20110821_174109

When I poured the mixture into the prepared pan on top of the baked crust it literally filled the pan completely. I was shocked it didn't overflow.
IMG_20110821_174341

After the suggested cook time, I cooled the pan on a wire rack. I guess the flash didn't go off here; sorry about that. :(
IMG_20110821_190732

I cut into twelve bars and put strawberry halves atop each bar.
IMG_20110823_010407

These were really fun and rewarding to make.

Sunday, August 7, 2011

Panda Bread failure/still tasty :-)

A good friend suggested that since I love to make both bread and things that are colourful and difficult, I should try Panda Bread.

I didn't care for the imprecision suggested in the recipe, microwaving the butter and all. I preferred to use my stalwart Kitchenaid recipe for white sandwich bread. (Which, if you've been following along, you've seen me make here: Rainbow Bread and here: Rainbow Bread Redux)

So, here we go:
I started with these quality ingredients:
IMG_20110807_184648

I tried not to repeat the same photos as the last time, so here's the dissolved yeast after I've added the lukewarm milk mixture:
IMG_20110807_185407

I took a series of action shots as I "slowly added the remaining flour 1/4 cup at a time" :
IMG_20110807_185556
IMG_20110807_185545
IMG_20110807_185706
IMG_20110807_190048

I then separated the dough according to the recipe and applied the food coloring in my desired color scheme (though I really wasn't sure which color should be which size).
IMG_20110807_191641

I let the colored dough rise for about an hour, punched it down lightly, divided, and assembled it according to the panda bread recipe.
IMG_20110807_201240
IMG_20110807_201449

I think I got this wrong though. I think one of the pink segments should have been smaller and the other thicker. Also, the "ear" segments should have been better shaped.
But, here are my results:
IMG_20110807_220146
IMG_20110807_220558
IMG_20110807_220546

Not quite a cute bear face, but tasty and brightly colored nonetheless.

Thursday, August 4, 2011

Hershey's Perfectly Chocolate Cake

So, I've been looking at this Hershey's cocoa sitting in my baking cabinet and wanting to put it to good use making something...different from my usual repertoire. So I decided on chocolate cake and while googling a simple recipe, came across one from Hershey's themselves for which I had all of the ingredients on hand.

(Actually I didn't have any milk, but I texted a friend who lives a block away and asked if I could have some in exchange for pieces of the cake the next day. I measured out the 1 1/3 cups [using water] into a glass, walked over with it, and said "I need this much..." My friends found this amusing. I thank them for the milk.)

Moving on. Here's the recipe:
http://www.hersheys.com/recipes/184/HERSHEY'S%20%22PERFECTLY%20CHOCOLATE%22%20Chocolate%20Cake.aspx

I started with these quality ingredients:
IMG_20110802_222840

It put all the dry ingredients into the mixer bowl:
IMG_20110802_224352

I beat the dry ingredients together by hand until well blended and uniform in color:
IMG_20110802_224622

Then I added the wet stuff and the boiling water, the recipe warns you that the batter will be thin, and I caught a lovely action shot to proove that it indeed was quite thin:
IMG_20110802_225153

I poured the thin batter into a well greased and floured large Bundt pan. I forgot to take pre- and post-oven shots in this pan, I'm sorry about that.

Here's a few shots of what the cake looked like as it cooled on the wire rack:
IMG_20110803_002740
IMG_20110803_002755

I made the batter by mixing the butter and chocolate and then adding about 1/3 each of the milk and confectioner's sugar until well incorporated and repeating two more times. It was a little thin, so I kind of poured/drizzled it onto the cake. It looked lovely:
IMG_20110803_005613
IMG_20110803_005554
IMG_20110803_010237
IMG_20110803_010300

Don't you just wanna eat some now?