
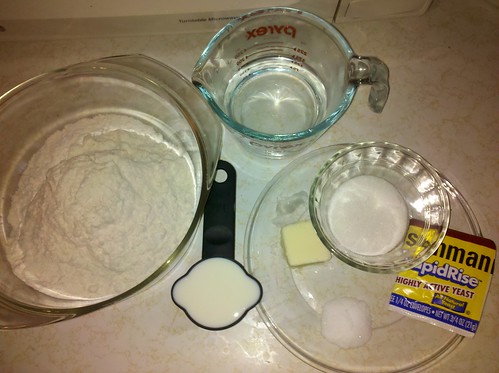
Ingredients:
3/4 warm water
1.5 tbsp sugar
1 tsp salt
1.5 tbsp butter
1/4 c milk
2 & 1/4 c flour
1 pkg active dry yeast
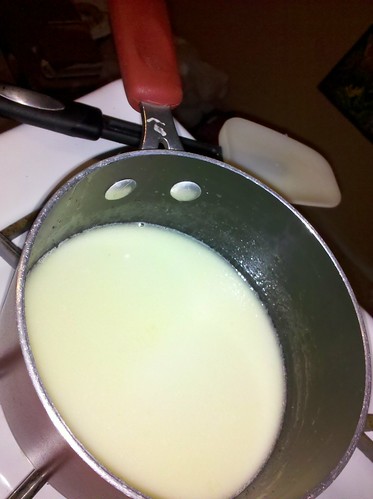
I started by heating the milk, sugar, salt and butter in a small saucepan over low heat.
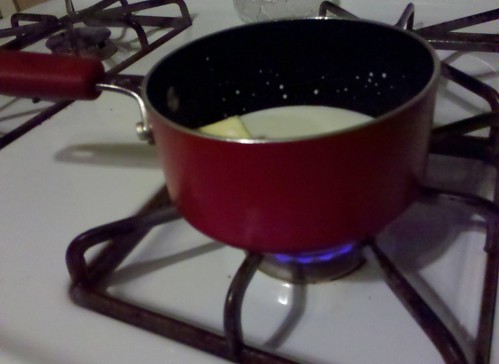
I stirred constantly just until the sugar was dissolved and the butter melted.
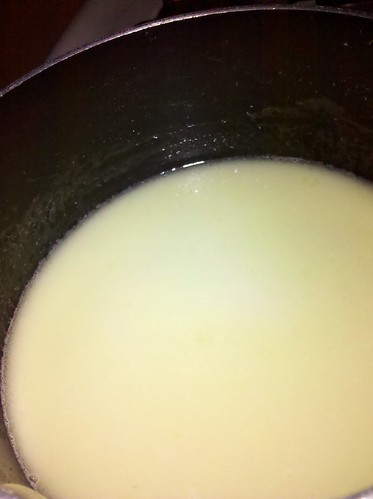
Then I removed the mixture from the heat and set it aside to cool to lukewarm.
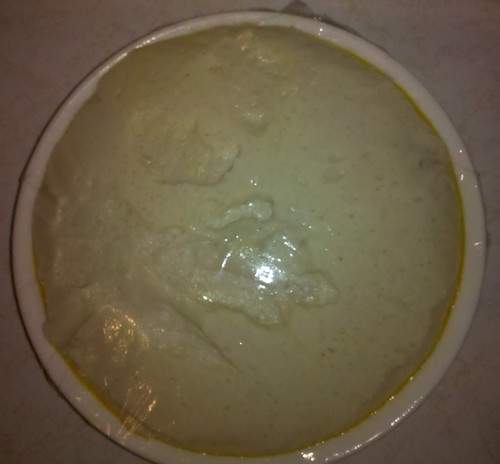
I dissolved the yeast in my mixer bowl with the warm water (which I checked the temperature of with my kitchen thermometer).
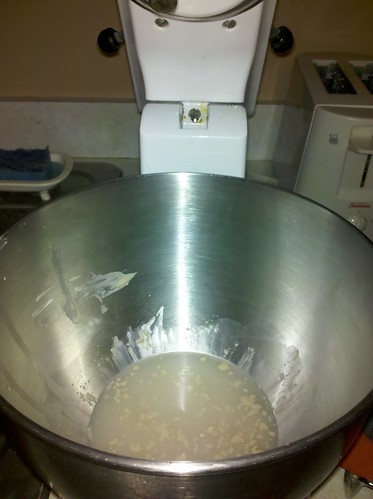
Because I found this so unpleasant looking, I felt compelled to share it so that others attempting to recreate it would not be deterred at this step.
I put everything together in the mixer bowl and beat on a low speed until it was all well incorporated.
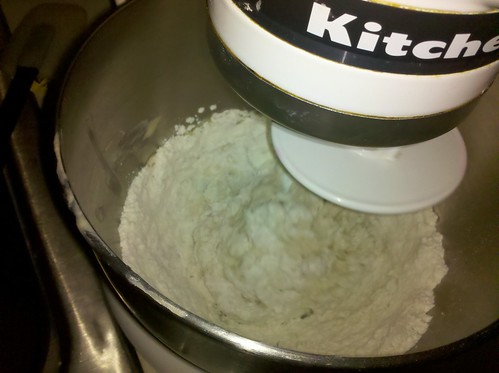
I added about a half cup more flour at this point, in quarter cup intervals until the dough clung nicely to the hook.
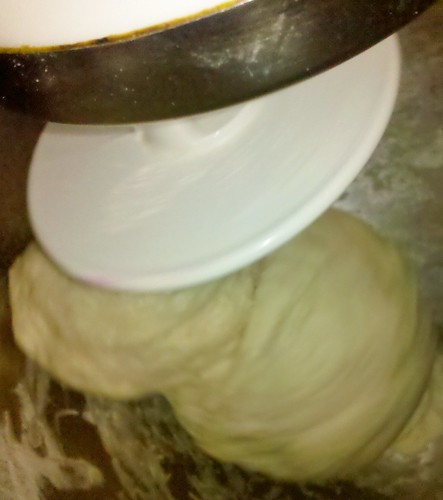
After kneading for about 4 minutes, I placed the dough into a well greased glass bowl and covered it for the first rising.
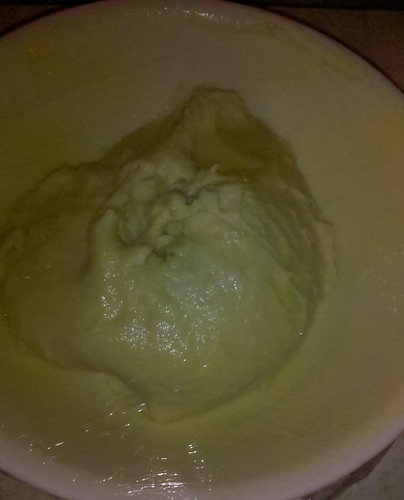
Then I put it in a warm place free from drafts (on top of my fridge!) for an hour.
Look how big it got!
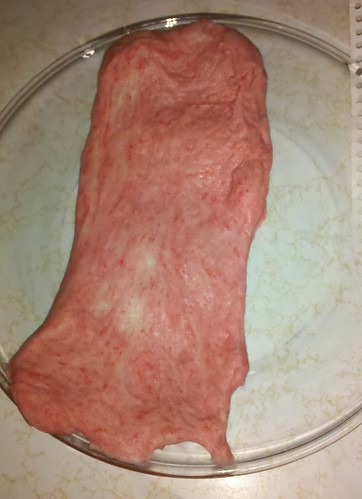
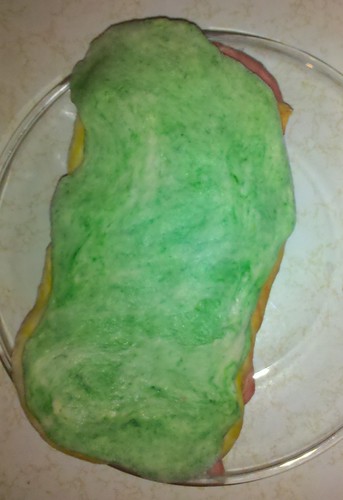
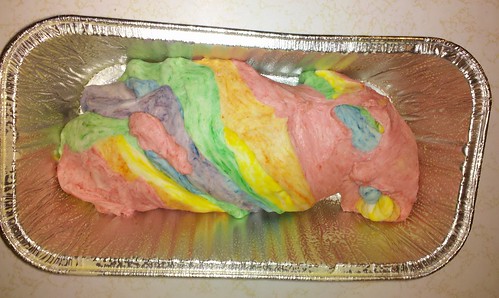
I punched the dough down and cut it into sixths. I then put each sixth in the mixer bowl individually with 6 drops of food coloring. Once the color was well spread throughout the doughball, I used floured hands to stretch the dough to the desired size. I repeated this with each color.

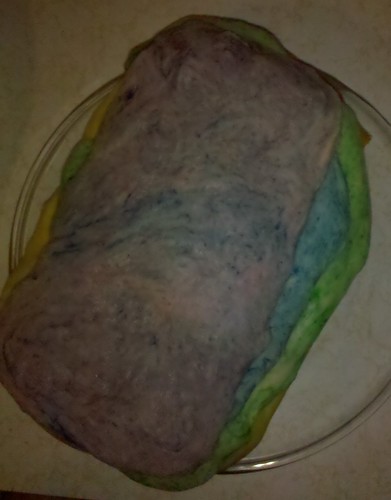
Once all the colors were laid together, I twisted the bunch into a loaf shape and placed it into a well greased 9"x3" loaf pan for the second rising.
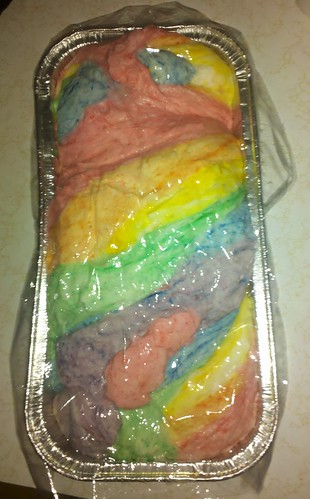
I covered the loaf, put it back on the fridge and waited another 40 minutes, figuring that I had spent about 20 getting the coloring done.
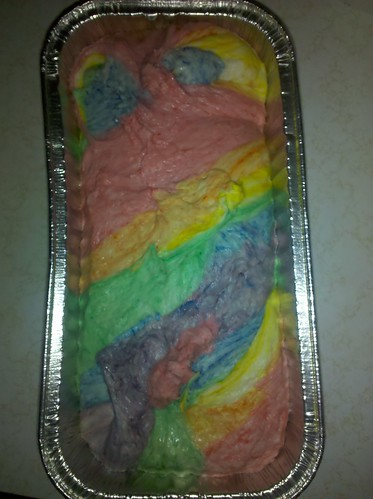
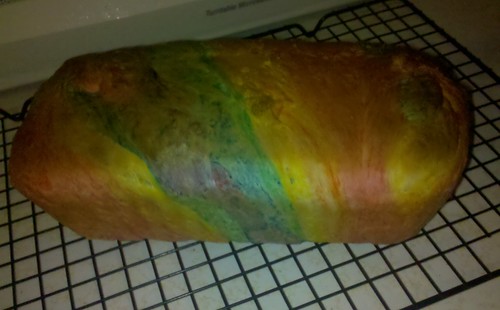
By the time it was set to go into the oven, it had filled the loaf pan and looked awesome!
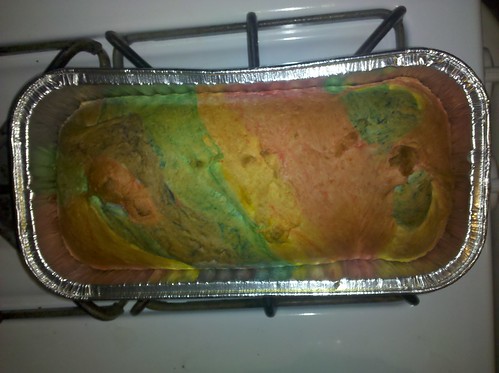
After 30 minutes at 400 degrees, the loaf was adorable and I'm certain that my customer will be thrilled to cut it open.
WOW-SOOOO COOL!
ReplyDeleteThanks :-) <3
ReplyDelete