Cookies

Cookies
A haven of snack-y happiness!

Sunday, June 5, 2011

Rainbow Bread Redux

One of the reasons I love rainbow food is because it's so different! So, I'm sorry to bore you with another repeat in such a short time window, but folks will order what they will! :-) I'm just as pleased as punch to have others to bake for and so, here's a second adventure with Rainbow Bread.


Ingredients:
Ingredients:
3/4 warm water
1.5 tbsp sugar
1 tsp salt
1.5 tbsp butter
1/4 c milk
2 & 1/4 c flour
1 pkg active dry yeast

I started by heating the milk, sugar, salt and butter in a small saucepan over low heat.
low heat

I stirred constantly just until the sugar was dissolved and the butter melted.
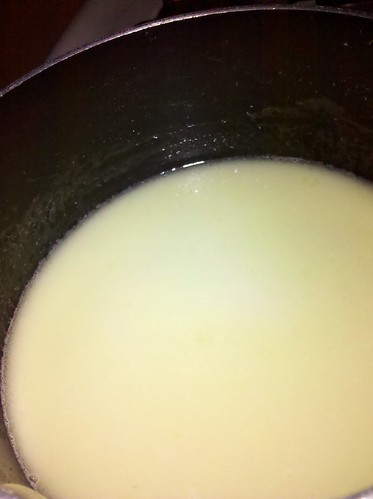
buttery, salty sugar milk

Then I removed the mixture from the heat and set it aside to cool to lukewarm.
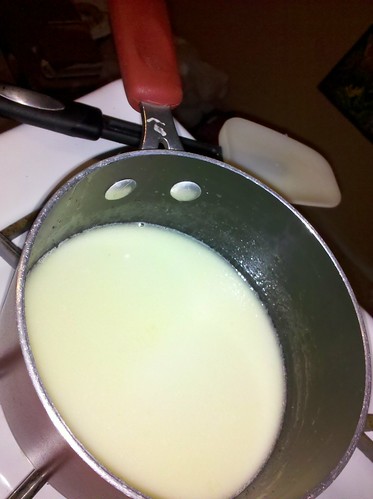
cooling off

I dissolved the yeast in my mixer bowl with the warm water (which I checked the temperature of with my kitchen thermometer).
yeast looks gross
Because I found this so unpleasant looking, I felt compelled to share it so that others attempting to recreate it would not be deterred at this step.

I put everything together in the mixer bowl and beat on a low speed until it was all well incorporated.
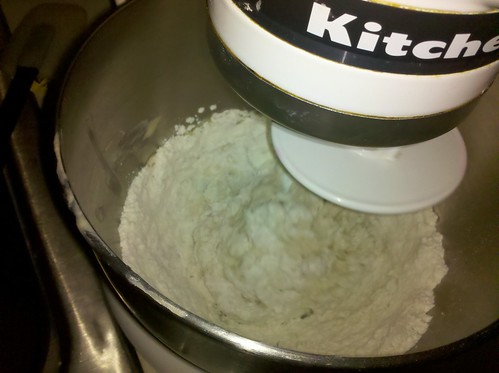
incorporating everything

I added about a half cup more flour at this point, in quarter cup intervals until the dough clung nicely to the hook.
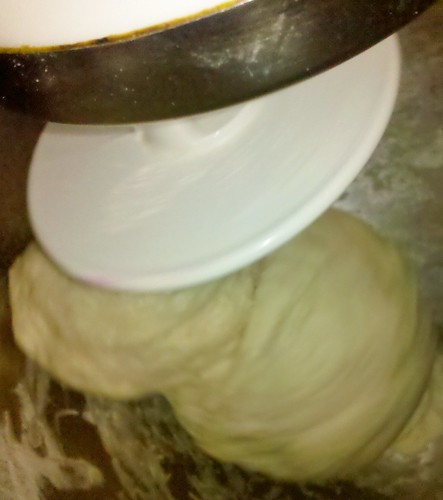
dough!

After kneading for about 4 minutes, I placed the dough into a well greased glass bowl and covered it for the first rising.
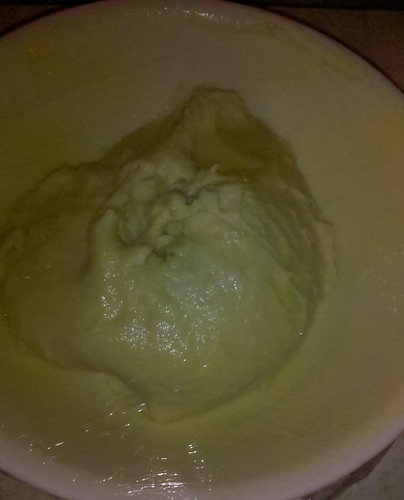
first rising

Then I put it in a warm place free from drafts (on top of my fridge!) for an hour.


Look how big it got!
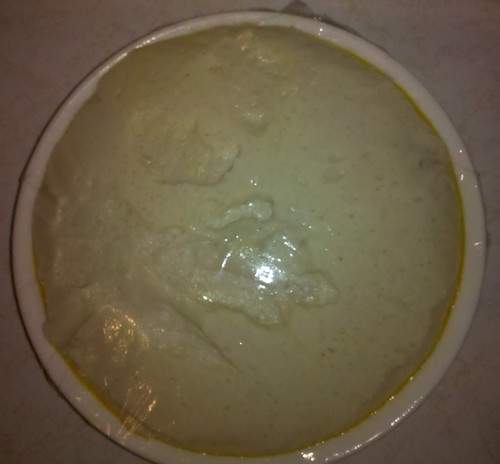
look how big it got!

I punched the dough down and cut it into sixths. I then put each sixth in the mixer bowl individually with 6 drops of food coloring. Once the color was well spread throughout the doughball, I used floured hands to stretch the dough to the desired size. I repeated this with each color.
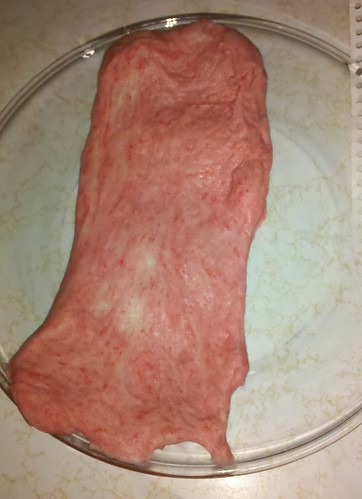
always gotta start with red!
orange is under this bright yellow layer
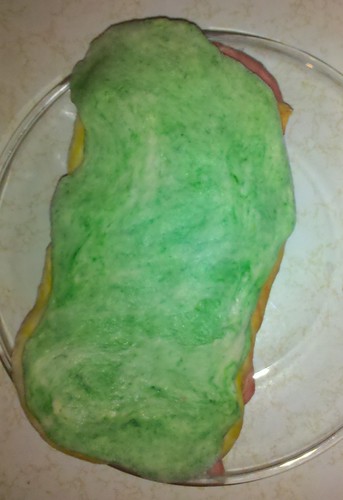
then green
and blue & purple

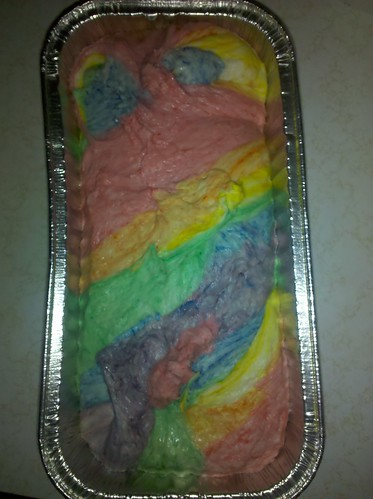
Once all the colors were laid together, I twisted the bunch into a loaf shape and placed it into a well greased 9"x3" loaf pan for the second rising.
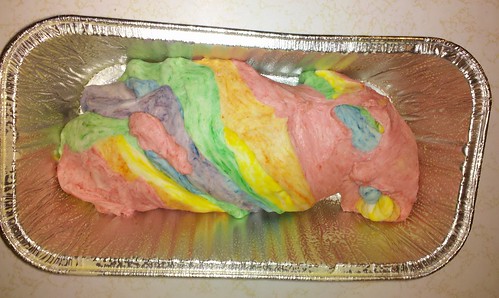
twisted together for a second rising

I covered the loaf, put it back on the fridge and waited another 40 minutes, figuring that I had spent about 20 getting the coloring done.

By the time it was set to go into the oven, it had filled the loaf pan and looked awesome!
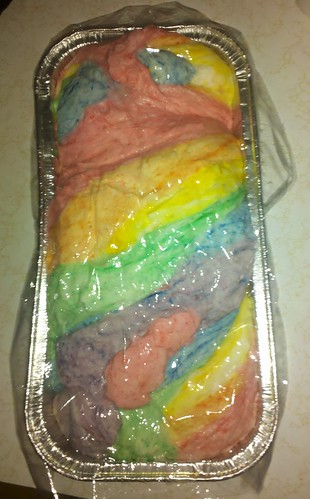
all set for the oven!
oooh it looks so fun!!!!

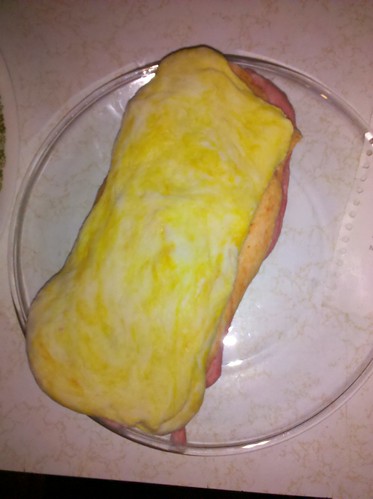
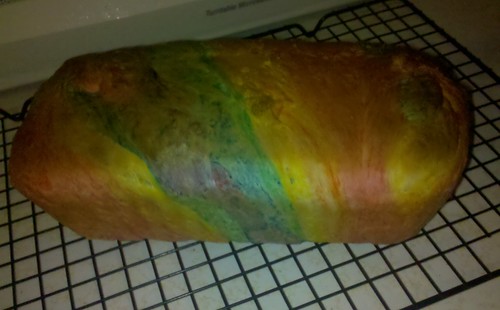
After 30 minutes at 400 degrees, the loaf was adorable and I'm certain that my customer will be thrilled to cut it open.
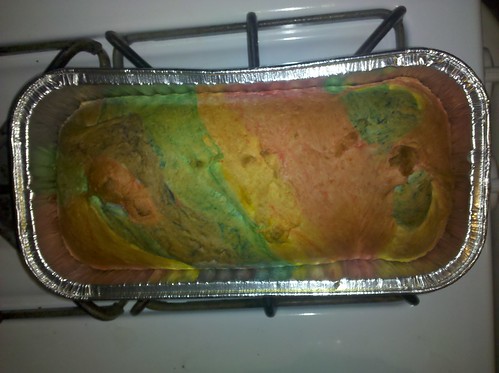
just out of the oven!
where's the flash? all done and beautiful!!

Rainbow Cake redux

In an effort to limit the repetitiveness of this blog, I deleted the original rainbow cake post. As it was my first post, there was several errors with it. So this updated version should go better.

I was inspired by this:
http://www.notmartha.org/archives/2011/03/16/leprechaun-trap-cake/

My first attempt (with a homemade white cake recipe from Kitchenaid) came out like this:

previous attempt

For the second try, I opted to use two boxes of angel food cake.

I started with about half of one box worth of cake in the well greased bundt pan.

before rainbow-i-fy-ing

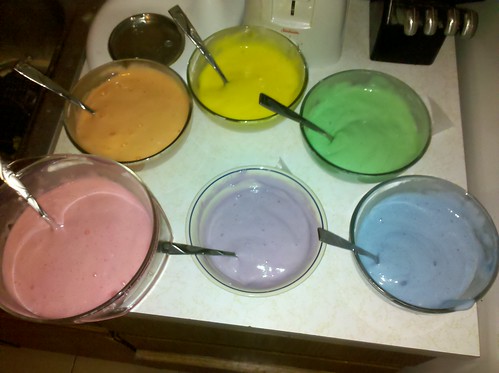
I then put six portions of decreasing size in various bowls on my counter. I left some cake batter in the bowl. I used 4 drops of food coloring per bowl, creating the orange and purple with two drops each of two colors.

colored cake batter

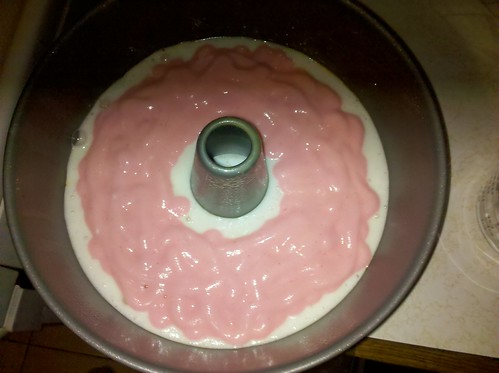
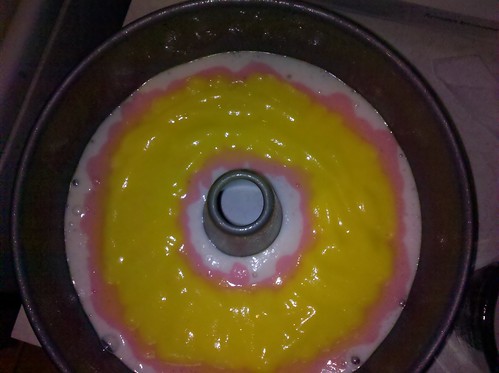
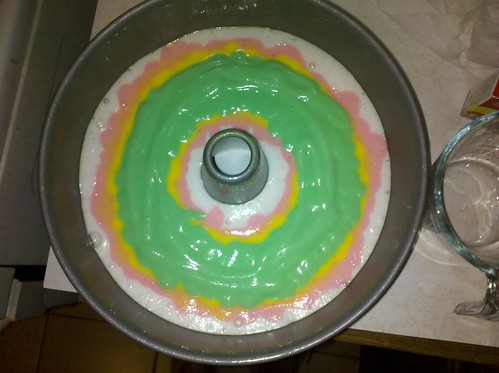
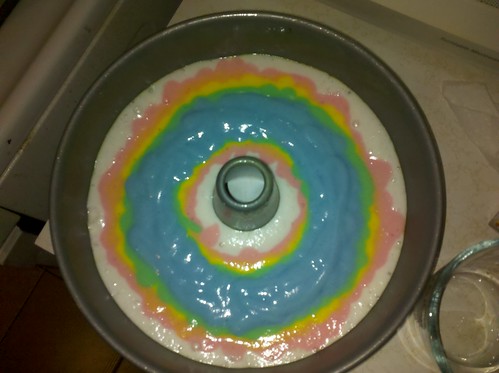
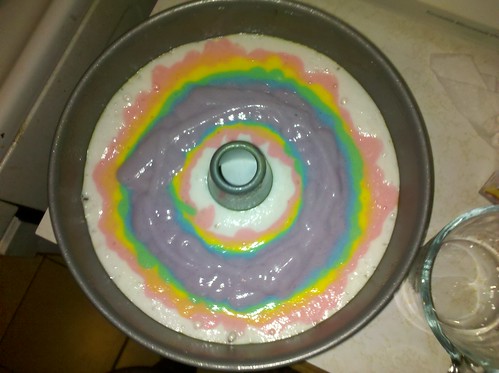
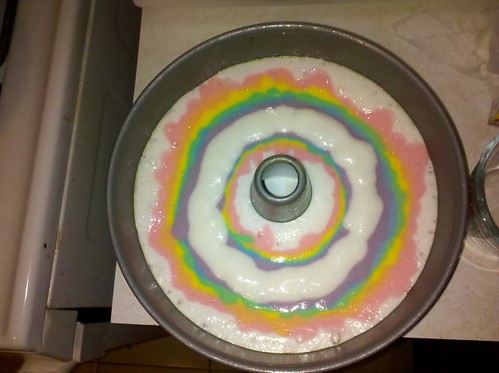
I then used a ziploc inside a cup to spoon the colored batter from each bowl into a ziploc. I snipped the corner and squeezed out concentric circles each getting slightly smaller.

layer 1
layer 2
layer 3
IMG_20110602_223127
layer 5
layer 6

After all the colors had been done, I did a little layer of white in the middle to try to make an arch. I ended up not using about a quarter of a box of batter.

final layer

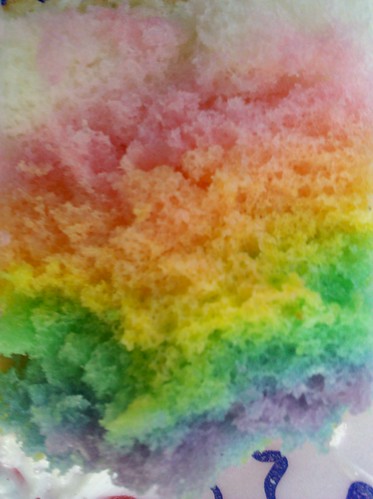
I was very nervous that the cake was going to overflow the pan in the oven. But I cooked for approximately 36 minutes and it looked so beautiful when we cut it open!

not perfect but still pretty
oh so rainbow-ie!
cake and icecream

Wednesday, June 1, 2011

Red Velvet Cupcakes

Blogs are for brutal honesty, right? I think so. I don't know how well blogs connected to "businesses" (I put it in quotes because I checked with the FDA and IRS and I don't currently qualify as a business, I am rather a hobbyist) might be served by this policy, but here goes nothing:

I was unimpressed by these red velvet cupcakes; to start with, they were not red! I sent them anyway.

Cupcakes are, apparently according to the internet, one of the hardest things to mail. So, I spent a small fortune on packaging.

In the end I broke even on the sale. I made no monetary profit, but it didn't cost me anything either. I did profit from the experience and I get a feeling of warmth thinking that I shared my snacky happiness with others.

To continue blathering, it states on my Etsy that I suffer from food neophobia. Which is true. I would NEVER even *try* a preponderance of the items I enjoy making, including all three which were included in this order. It was truly a treat to be able to make such adventurous food and know that people will enjoy the fruits of that labor. For that I sincerely thank my customer.


So...here goes with the red velvet cupcakes....
I followed this recipe:
http://allrecipes.com/Recipe/red-velvet-cupcakes/Detail.aspx

I used these quality ingredients:
ingredients
The stuff in the bowl is buttermilk I made from a powder. Please note for future reference, that little thing of red food coloring, even though it was full, was not enough for this recipe as you will see later.

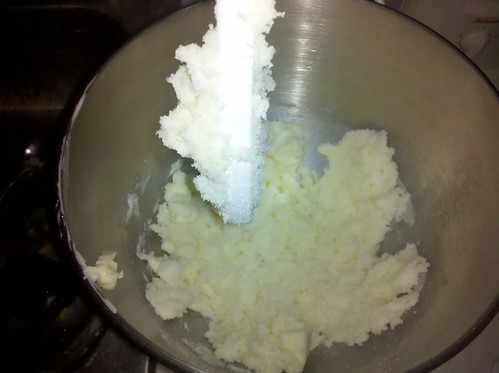
I creamed the butter, and it looked so tasty!
creamed butter

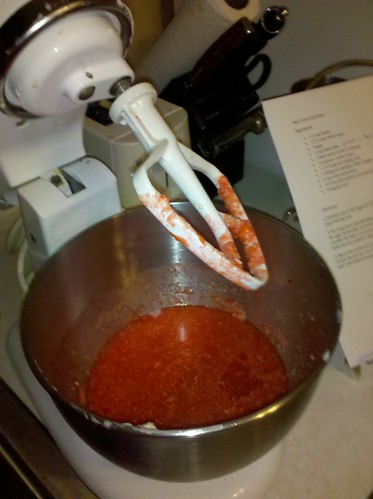
I didn't have a way to measure 1 fluid oz. in my kitchen, but I used all the red coloring I had, and it looked very red at the time:
look how pretty and red it is!!

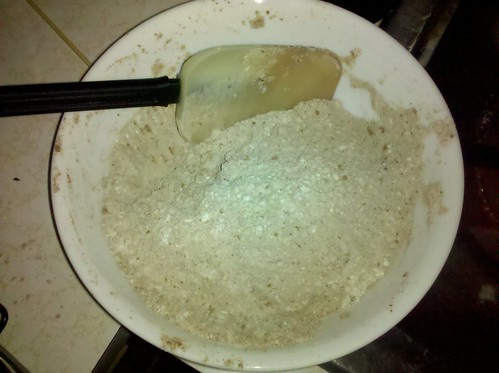
But once I added these sifted together dry ingredients:
dry ingredients

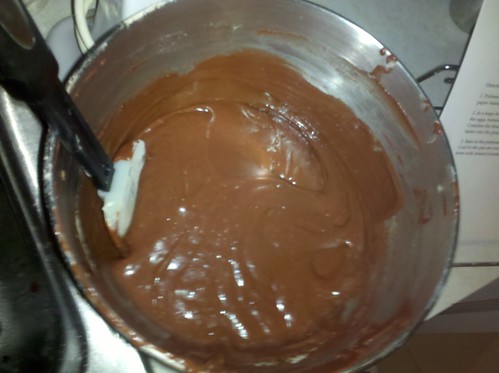
It no longer looked red, just brown:
why isn't this batter red???

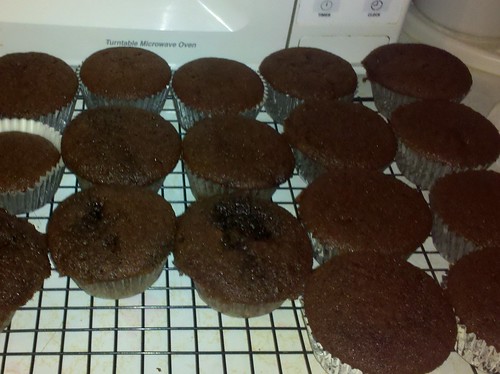
I was thoroughly disappointed as I loaded them into and then out of the oven. Here's a shot of them finished; at this point I felt like I should have just made plain chocolate cupcakes!
out of the oven

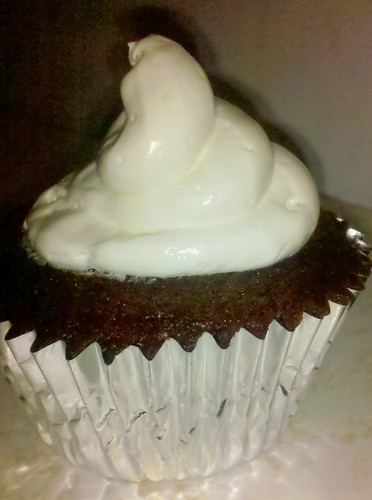
But I couldn't be defeatist. My test cupcake tasted just fine and dandy according to my lovely husband, so I went ahead and iced them to perfection:
what a beautiful cupcake!

Then I packaged them nicely, hoping with all my hopes that they would arrive somewhat close to the state I sent them in.
packed for shipping