I love fresh ingredients and making something new. The lovable hubby was listing off at least 4-5 things I've made repeatedly in the past (to some singing successes) that I've yet to chronicle for y'all. However, today I've elected to go with something new today, and it was TONS! of fun to make.
I used this recipe:
Best of the Best Blueberry Muffins
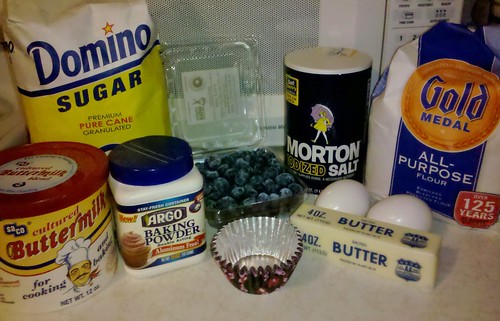
I started with these quality ingredients:
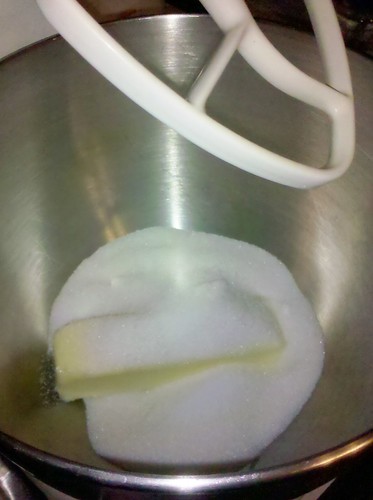
I put the butter, sugar and salt into the mixer bowl:
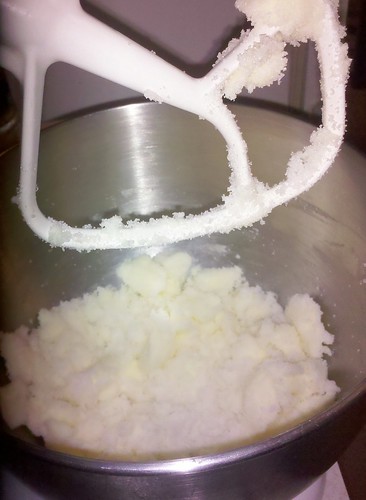
This is what it looked like "creamed":
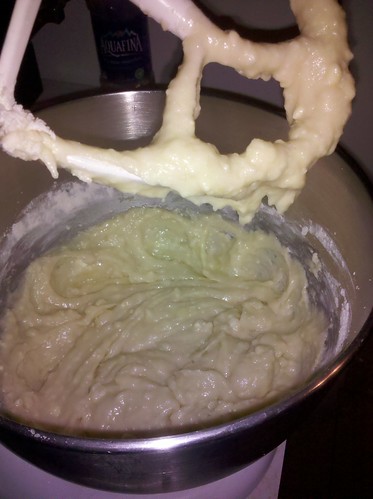
Looks like I forgot to take a salvageable photo after adding the eggs one at a time. But here is one after adding the flour/buttermilk mixture:
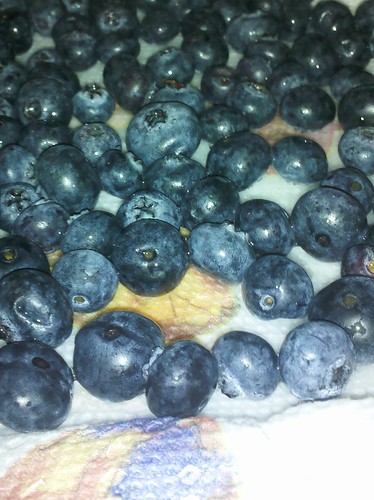
Then it was time to work with the blueberries:
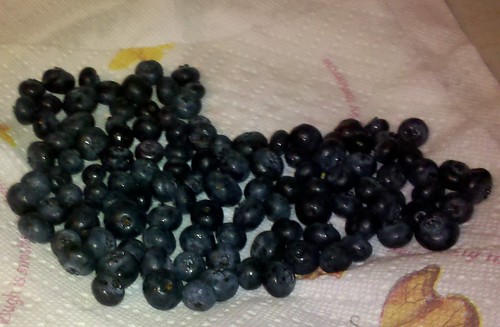
Look how I took the upper right one-quarter away:
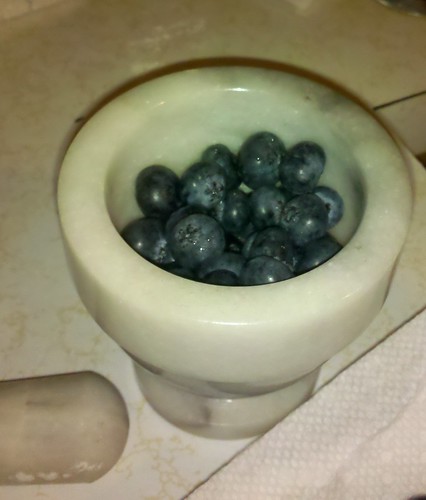
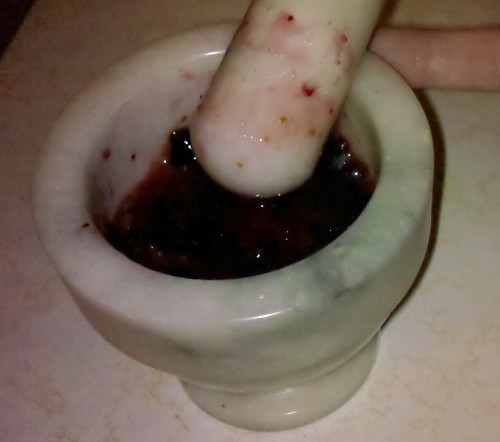
I put these berries in my mortar:
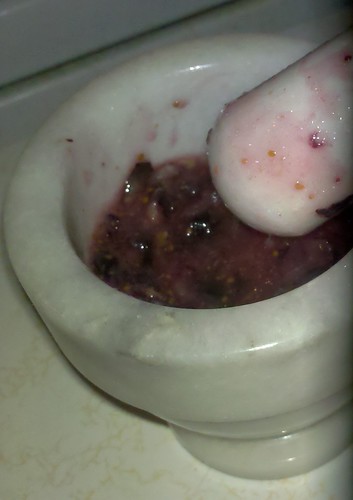
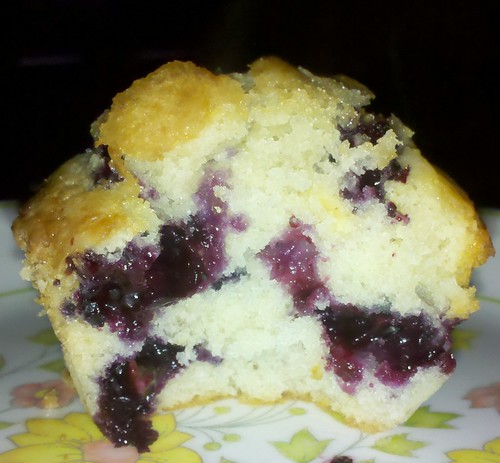
I mashed them until they were heartily goo:
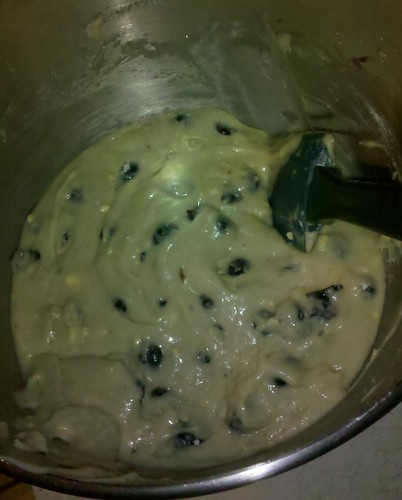
I also seem to have neglected to take a photo after adding the mashed berries but before folding in the unmashed ones and the rest of the flour.
But here's one after adding those last ingredients:
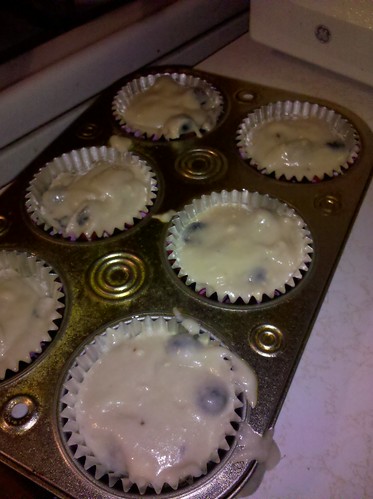
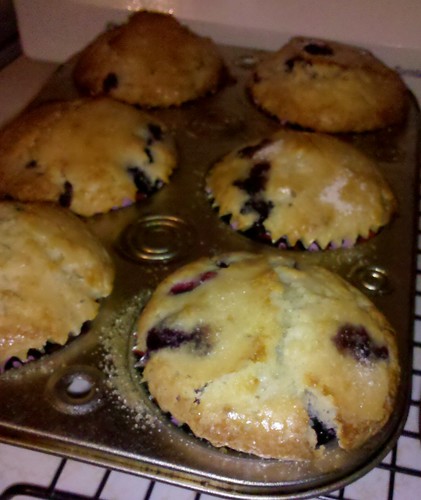
I scooped this batter into two prepared 6 muffin tins greased and lined with the most adorable paper cups.
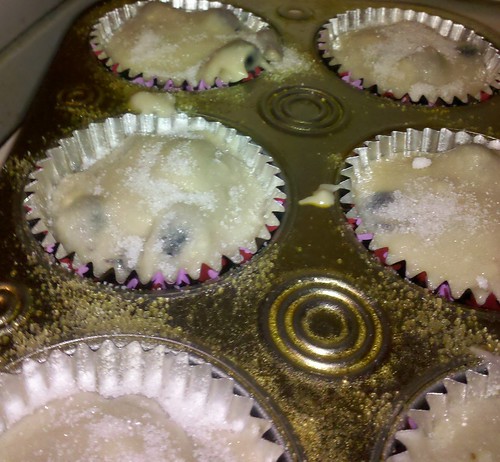
It filled the cups pretty much. I then sprinkled the remaining sugar atop them.
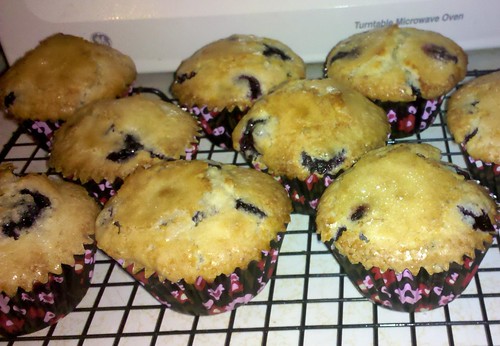
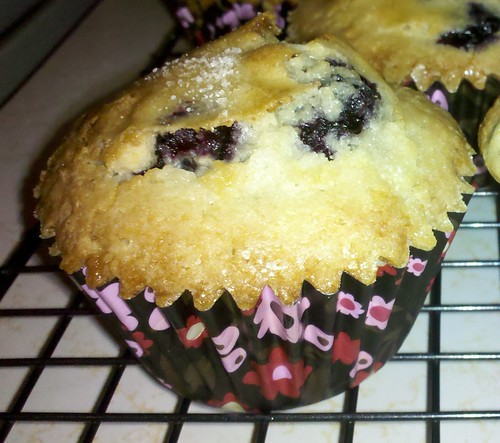
After 30 minutes in a 375 degree oven, they came out looking perfect:
MmmMmmMmmmm tasty!!!
I love to bake. Pretty much anything, but especially complicated things, things from scratch and ANYTHING brightly colored! I want to share this love with the world. You can hire me to bake anything for you. If you live within Metro distance, I will deliver it (for a fee of course silly), otherwise I will ship it to you. And you will be filled with wonderment! Please- challenge me!
Cookies
Friday, September 30, 2011
Sunday, September 25, 2011
Peanut Brittle
Here's a fun love story that's 100% true.
My husband was walking through the kitchen last week and said "you know what would be good? Peanut Brittle." I said, "I bet I could make Peanut Brittle." So I looked up a recipe and the only thing I needed was peanuts. I bought some on my lunch break the next day for $1.67 and came home to make delicious peanut brittle. Here; watch!
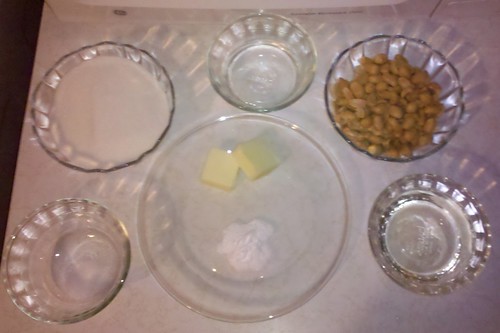
I started with these fine ingredients:
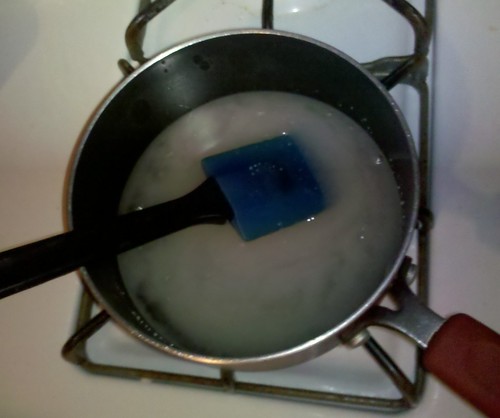
I mixed the sugar, corn syrup, salt and water in a pot on the stove until the sugar was totally dissolved. It was thick and a swirly white color:
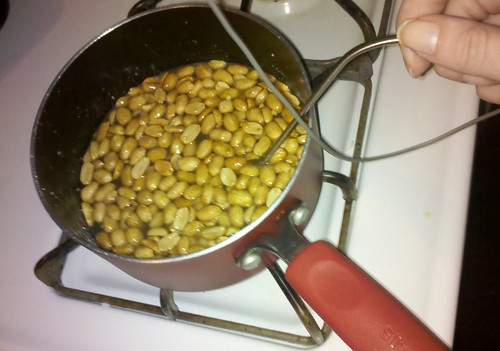
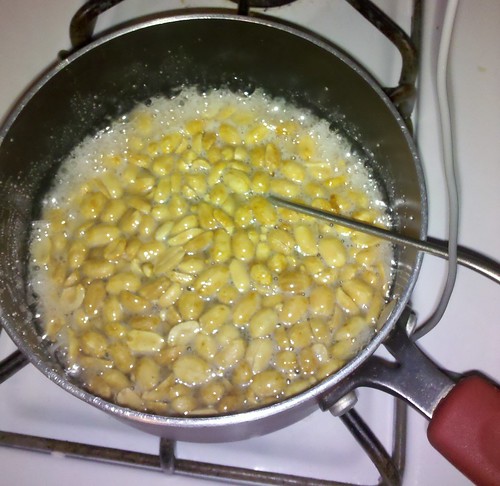
I added the peanuts, and the mixture quickly came to a boil as I was setting the thermometer in place:
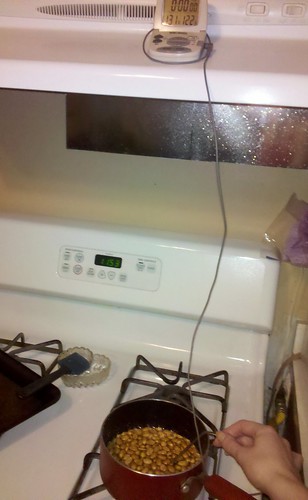
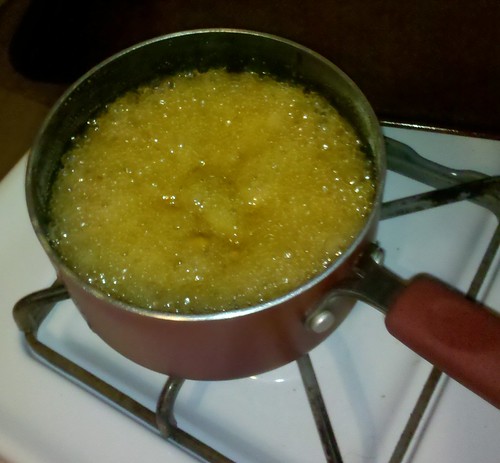
It took around 20 minutes of frequent (once a minute or so) stirring to reach 300 degrees. I could see various changes taking place, the mixture became thicker with white bubbles around 200 degrees, the 230s were agonizingly slow, by 250-260 the bubbles looked like caramelized sugar:
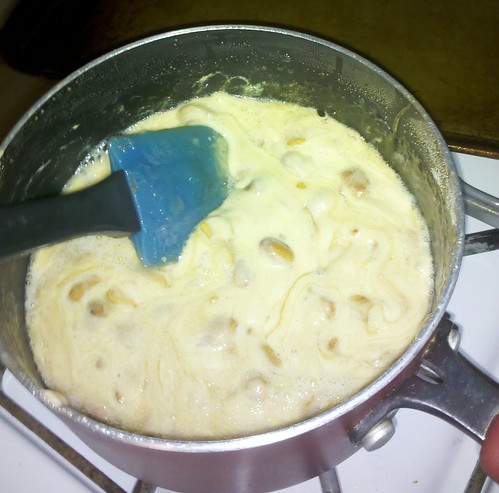
250 to 300 went very quickly, and I added the remaining ingredients:
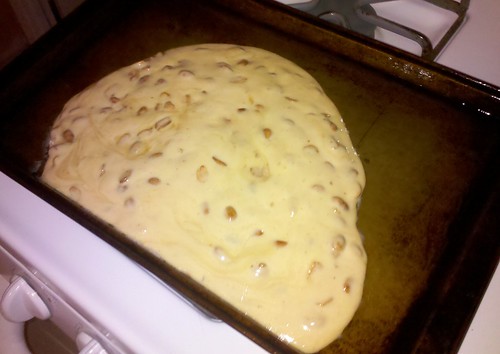
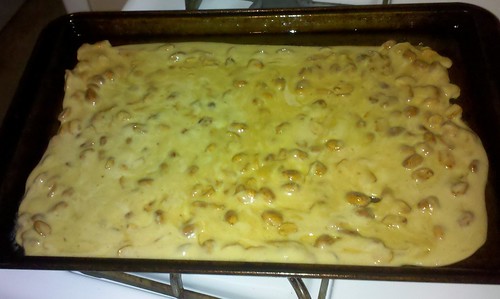
I immediately transferred the mixture to my prepared well-greased pan:
As the recipe suggested, I used two forks to spread the mixture out to fill the pan. In retrospect, I wish I had used a spatula, I think it would have worked better.
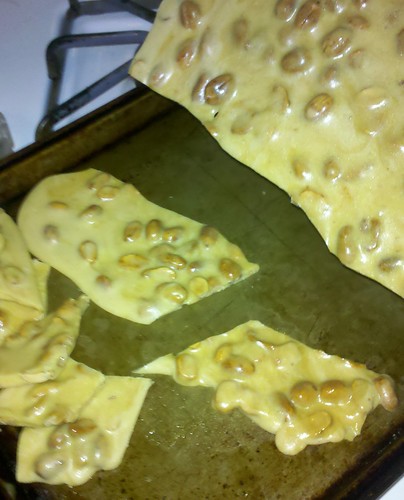
I let it cool for an hour before I started cracking it apart:
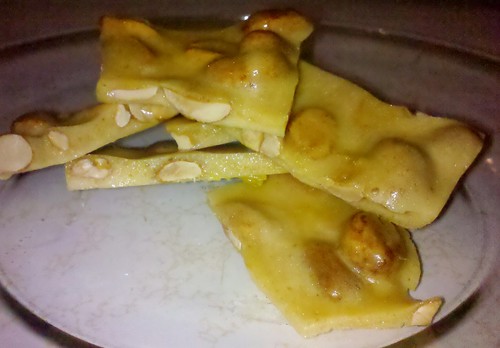
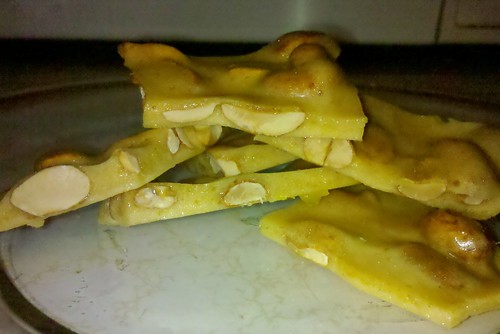
And then it was delicious and amazing:
Woohoo!!
Wednesday, September 21, 2011
Triple Chocolate Chunk Brownies
Pillsbury, who I got this recipe from seems to think that these are only double-chocolate chunk. Additionally, I left out a step (involving more chocolate lol) but there's still three kinds of chocolate in these brownies, so I feel justified calling them triple chocolate.
I elected not to make the first of the two icings this recipe spreads atop the brownies, no one complained, and the brownies are gone, so they must have been good.
So, here's the recipe: http://www.pillsbury.com/recipes/double-chocolate-chunk-brownies/09eca55d-44b8-4e14-8558-5bd3ff2b7599/
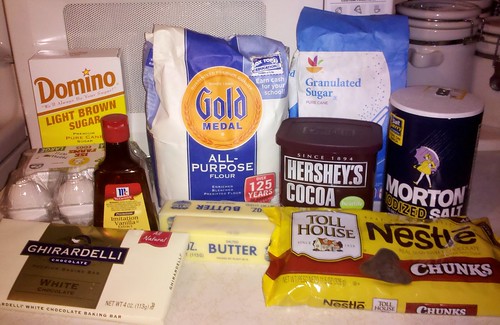
I started with these fine ingredients:
From there I began packing my light brown sugar. I usually use "brownulated" sugar which doesn't need to be packed, but the store I visited didn't have that. So a lesson on packing brown sugar; in this shot, the cup looks nearly full:
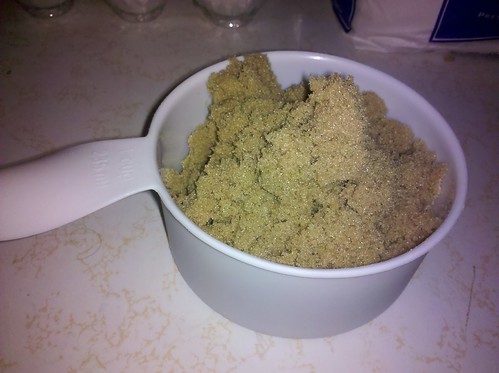
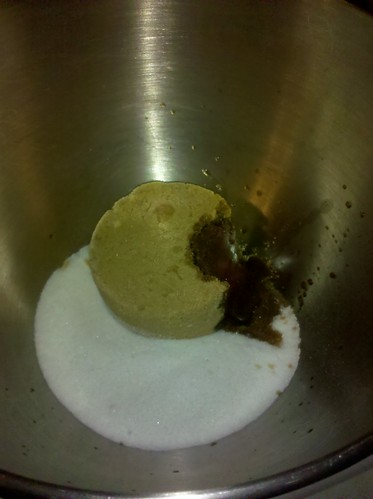
However, after lightly packing it down, it was less than half full, I had to fill it up and then pack it down two more times before it was actually full. When I turned and dumped it into the mixing bowl with the white sugar and vanilla, it held the shape of the measuring cup:
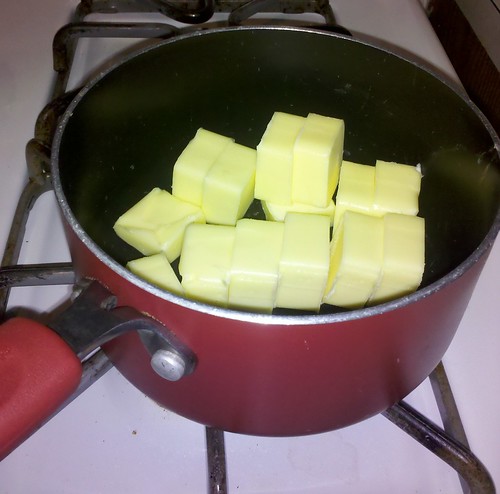
Then I melted the butter on the stove. I always cut it up to make it easier for melting:
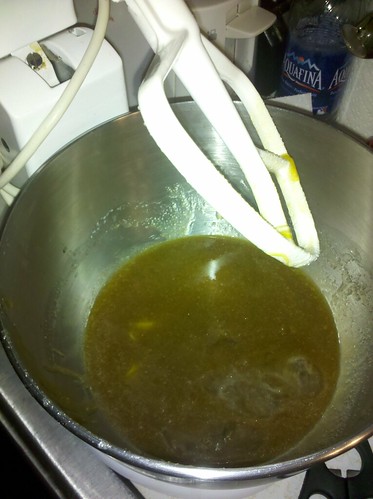
When I added the eggs and melted butter to the sugars and vanilla mixture, everything was very egg-y and brown. I couldn't believe that I hadn't added any chocolate yet. It was unpleasant to look at, so I thought a photo was needed to encourage others that they're on the right path at this step.
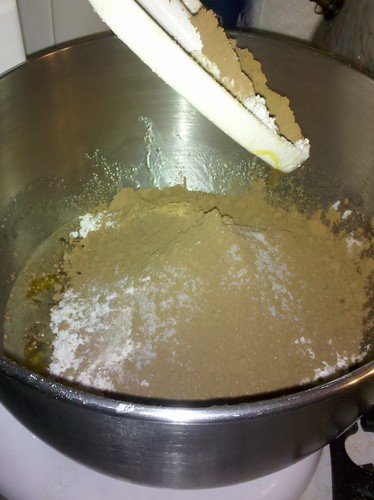
Next I added the cocoa, flour and salt:
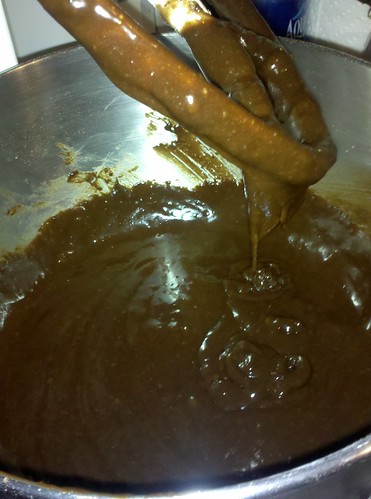
And it came out quite thick and chocolate-y, like brownies (lol!):
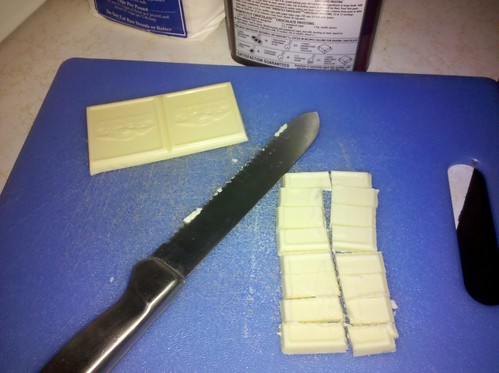
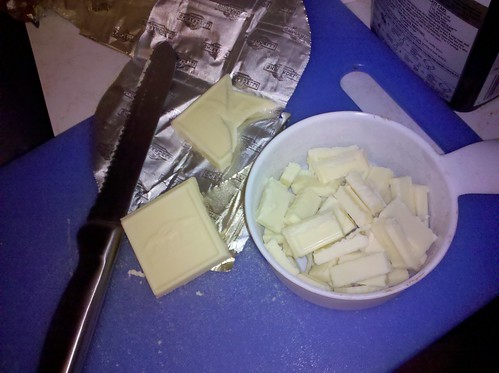
I was unable to find white chocolate chunks available for purchase, so I had a bar which I proceeded to cut into chunk sizes:
I filled my measuring cup with my little white chunks:
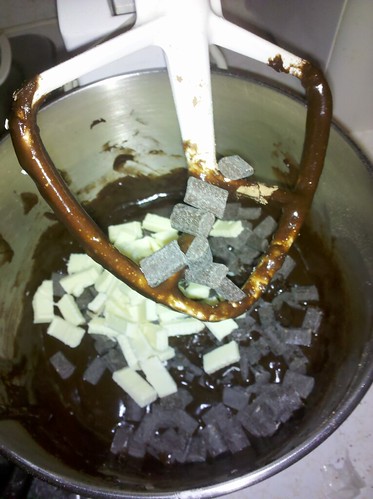
And then I added them and the chocolate chunks to the mixture:
Finally, I put it all in a well greased and floured pan to go into the oven:
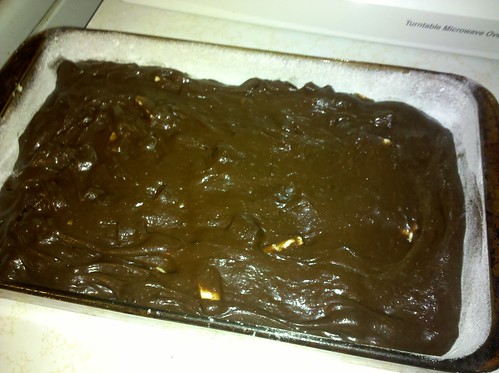
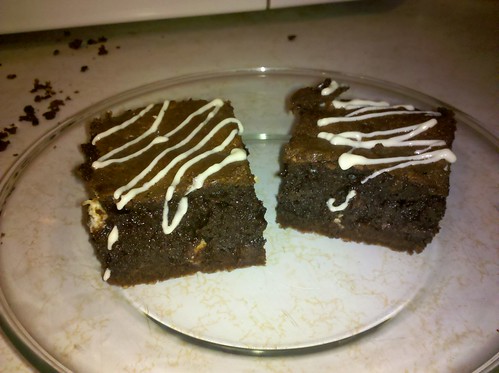
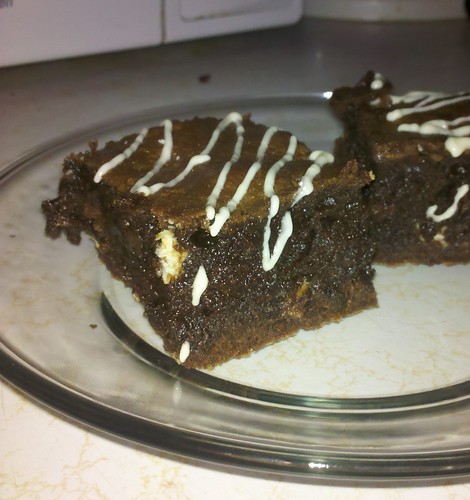
And a half hour later they came out perfectly. I cooled them in the pan for an hour and then cut them and put them on a platter where I poured the second part of the recipe's icing (just the white drizzle, not the spread) onto them.
They came out perfect:
Subscribe to:
Posts (Atom)